

Quick answer: How to choose a digital planner for beginners starts with the way you plan, not the number of pages. Identify your main task, check the date range and layout, confirm the file and app workflow, then test one small section before you commit. A good digital planner should make your next action easier to see and simpler to revisit.
The best beginner planner is not automatically the longest, most decorated, or most expensive option. It is the one that fits your real routine closely enough that you can open it, understand it, and use it without creating another maintenance task. This guide gives you a practical decision process, so you can compare a planner with clear criteria instead of guessing from a thumbnail.
If you are still defining your routine, visit the Digital Planning hub for a connected starting point. Then use the checklist below before you choose a file or product.
What should your digital planner help you do?
Before you compare colors or page counts, write one sentence about the job your planner must do. Maybe you want to see weekly commitments, break a large project into next actions, keep notes beside appointments, or create a simple review habit. A clear job makes the rest of the decision easier.
Ask yourself:
- What do I need to see at a glance: today, this week, a month, or a longer project?
- Will I use the planner for appointments, tasks, notes, priorities, or a combination?
- How much time can I spend maintaining it each week?
- Which device and app will I actually open when I need to plan?
- What would make the planner feel useful after the first seven days?
These answers become your filter. When a feature does not support the job you wrote down, treat it as optional rather than a reason to choose a more complicated file.
How to Choose a Digital Planner for Beginners: 6 Easy Steps
This six-step process makes it easier to learn how to choose a digital planner for beginners without getting distracted by decoration or an oversized feature list.
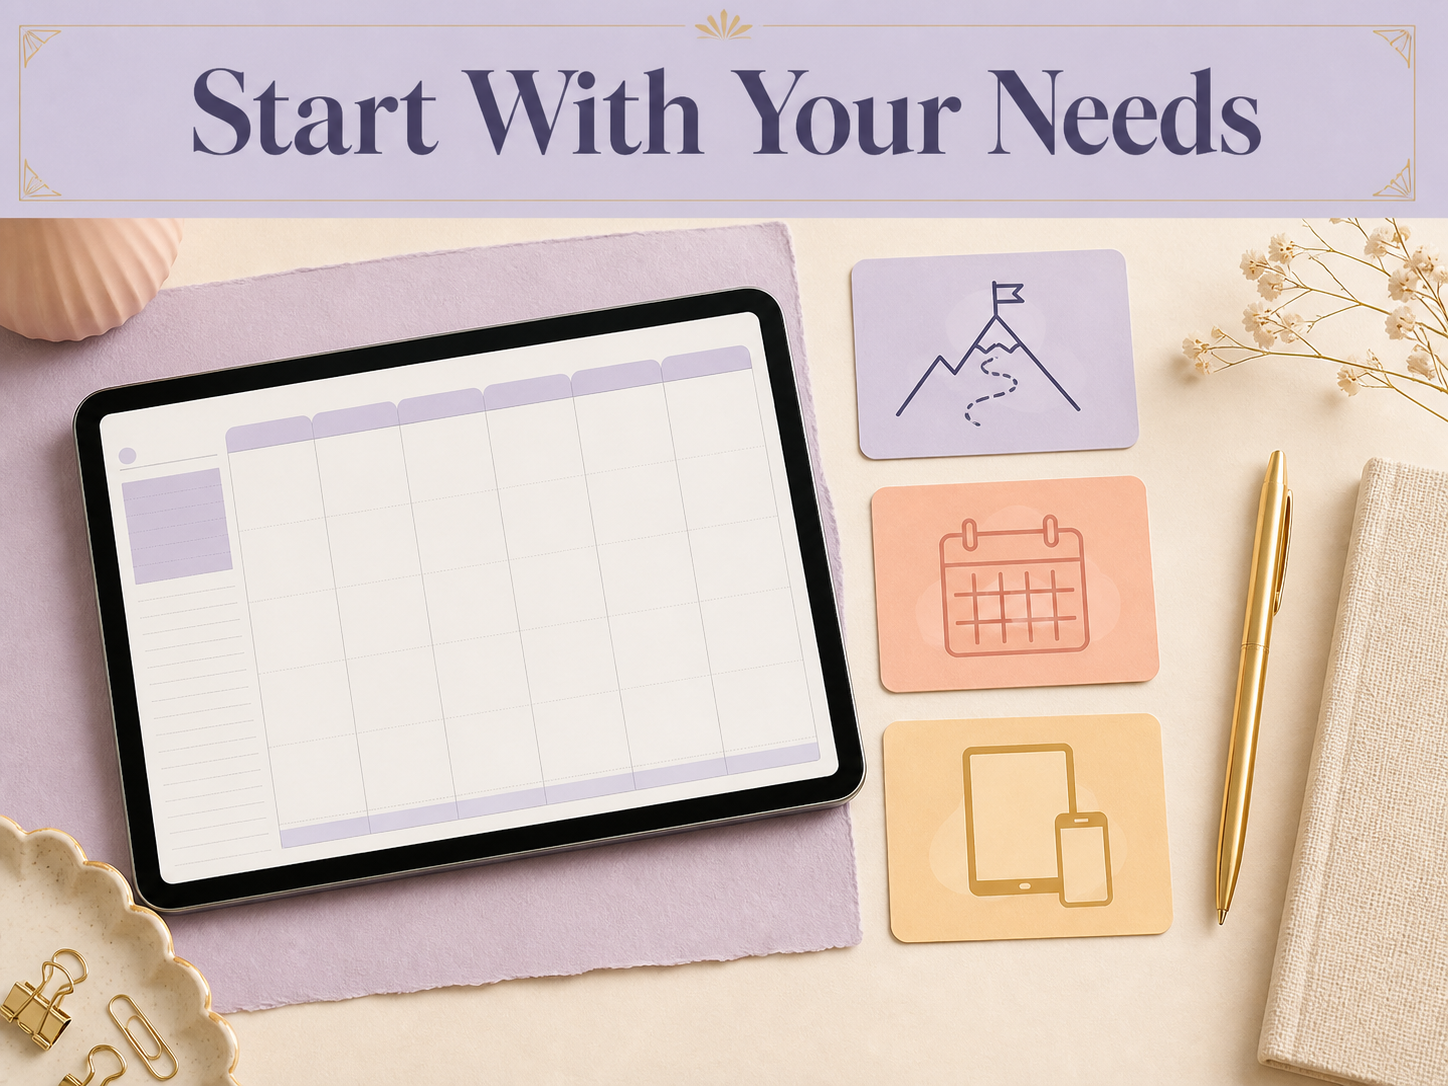
1. Start with your planning outcome
First, define the decision your planner should support. If you mainly need a quick daily view, prioritize a clear daily page and an easy way to return to it. If you need a weekly overview, look for enough space to see commitments together without crowding the page. If you are managing a project, check whether the structure helps you separate milestones, next actions, and reference notes.
Keep the first version deliberately small. A planner becomes easier to trust when you can explain why each important section exists.
2. Choose the right time period
Next, decide whether a dated, undated, academic-year, or project-based structure fits your calendar. Dated planners can make it easier to start on a specific day, while undated planners can suit irregular schedules or a fresh start at any time. Neither option is universally better; the right choice depends on how often you plan and whether unused dates would create friction.
Check the exact period before you buy or download. Look for the start and end dates, week-start convention, monthly and weekly coverage, and any pages that matter to your routine. If the listing does not state a detail you need, treat it as unverified and look for official product information.
3. Match the layout to your routine
Then, compare the page structure with the way you already think. Some beginners need a short priorities list and a small notes area. Others need a weekly spread, habit check-ins, project pages, or room for appointments. Choose the smallest layout that supports your next action.
Pay attention to visual hierarchy. Important fields should be easy to find, labels should be specific, and decorative elements should not compete with the information you need to scan. A beautiful layout can still feel difficult if every page asks you to complete too many boxes.
4. Check the file format and navigation
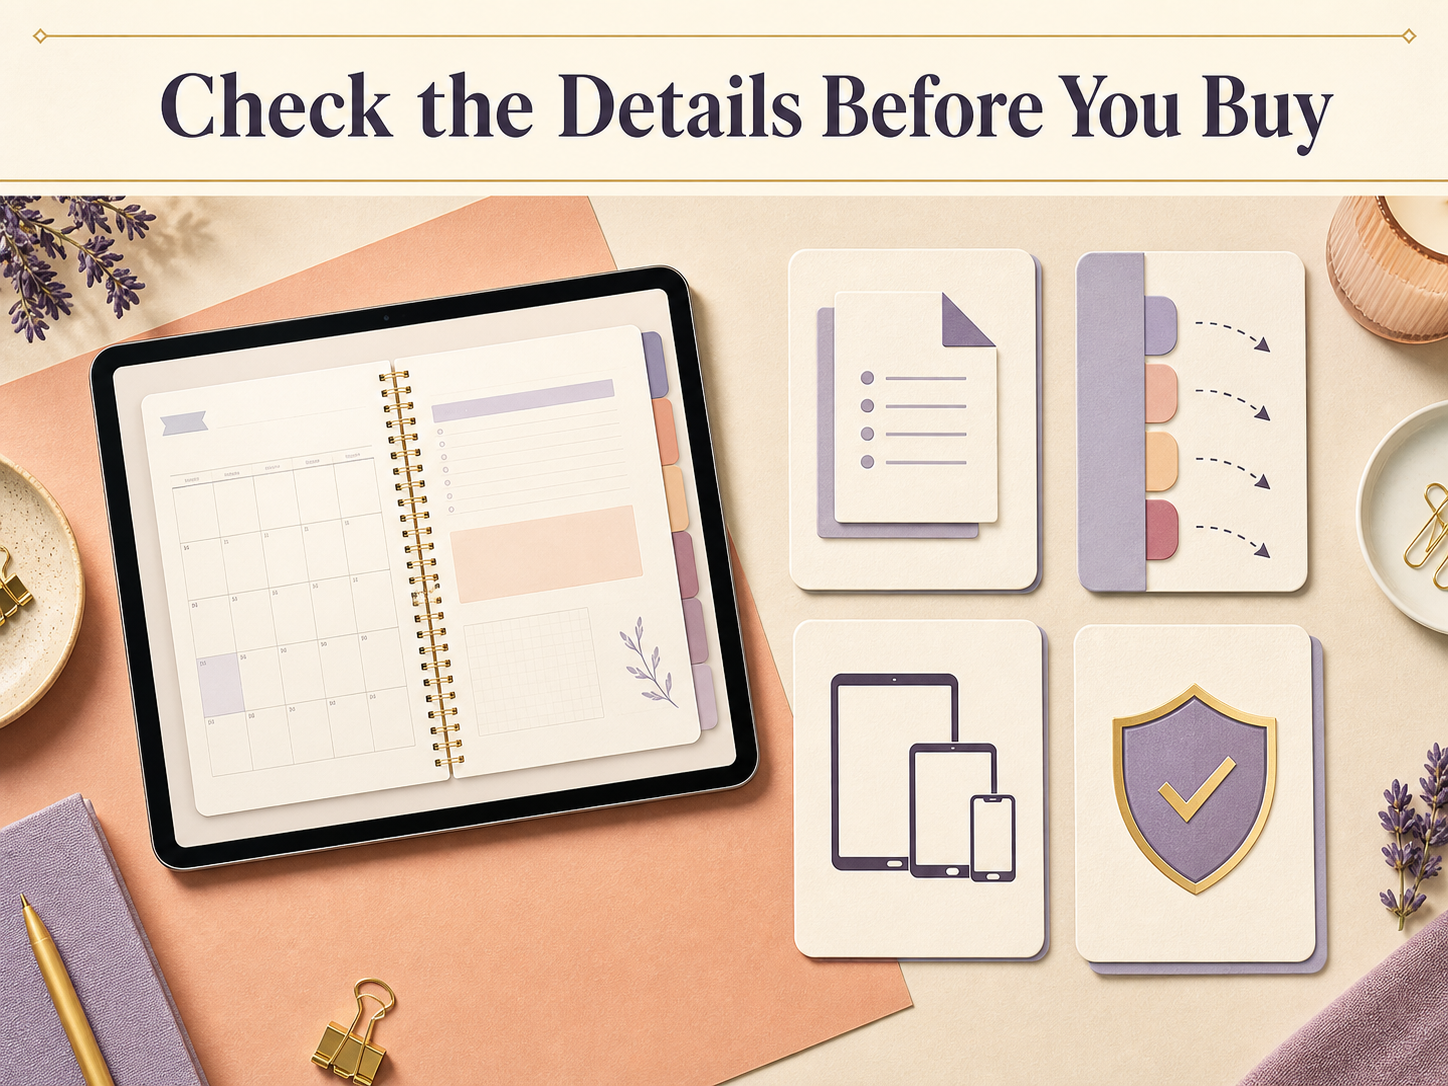
After that, confirm the file format and the way the planner moves from one section to another. A digital planner may use hyperlinks, tabs, buttons, or another navigation system, but you should not assume that every file behaves the same way in every app. Check the product or download information for the stated format, included files, navigation details, and any setup instructions.
Also check whether you will receive a final file, an editable source, or both. Keep your original download separate from your working copy. That simple habit gives you a safer way to recover if you change a page, import the file incorrectly, or want to start again.
5. Verify the device and app workflow
Now, confirm where you will use the planner. Check the current official documentation for your app and device, especially when file support, hyperlinks, imports, fonts, or syncing affect your workflow. If your workflow uses Goodnotes, review the Goodnotes Help Center for current app guidance; use the official source rather than an old screenshot.
If the creator provides a sample or preview, use it to test the action that matters most: open a page, move between sections, write a note, or export a copy. Do not turn a general compatibility statement into a guarantee. Software versions and device settings change, and a file that looks right in a preview may behave differently in your setup. A short test is more useful than a confident assumption.
6. Test one small section before you commit
Finally, start with one day or one week rather than filling the entire planner immediately. Add only current commitments, one or two priorities, and the notes you truly need. Then review the result after you use it in context.
Ask three questions: Could I find the important information quickly? Did the layout help me choose a next action? Did any section create work without helping me plan? Keep the answers and adjust your process before you scale it across the rest of the file.
Beginner rule: Choose the planner that makes your next useful action clearer, not the planner with the most features.
Beginner’s checklist before you choose
Use this short checklist on the product page or download screen:
- The planner’s purpose matches the job you wrote down.
- The dated period or undated structure fits your calendar.
- The layout gives you enough room for the information you actually use.
- The file format and included files are stated clearly.
- The navigation method is explained or visible in a trustworthy preview.
- Your device and app workflow have been checked against current official guidance.
- You know where to keep the original file and how to start a fresh working copy.
- The license, support route, and refund terms are clear before you commit.
If one of these answers is missing, pause and verify it. A missing detail is not automatically a problem, but it is a reason to avoid guessing.
Common mistakes beginners can avoid
Choosing a digital planner becomes harder when the decision starts with decoration. Watch for these common mistakes:
- Choosing a layout before deciding what you need to see.
- Buying a dated planner without checking the exact coverage or week-start convention.
- Assuming a file works in every app or device without checking current documentation.
- Editing the only copy of a downloaded file.
- Adding trackers that take more time to maintain than the decision they support.
- Filling every page before testing one small section in real use.
When a mistake appears, return to the smallest reversible version. Save a new working copy, remove a section that adds friction, or check the creator’s current instructions. A careful correction is more useful than a confident assumption.
How to start using your planner in one week
Once you choose a planner, give yourself a simple first week:
- Day 1: Save the original file, read the setup instructions, and identify the main navigation path.
- Day 2: Add only the appointments, deadlines, or commitments that are already known.
- Day 3: Choose one or two priorities and connect them to the next action.
- Days 4–6: Use the planner briefly and note where you hesitate or search.
- Day 7: Review what helped, remove what did not, and decide whether the structure fits your routine.
This process keeps the choice practical. You are testing the workflow, not trying to create a perfect planning system in one sitting.
Frequently asked questions
Do I need an expensive tablet to start digital planning?
Not necessarily. Start with the device and app you already use, then check the current requirements for the file you are considering. The useful question is whether you can open, navigate, and update the planner comfortably in your real routine.
Should a beginner choose a dated or undated planner?
Choose dated if a defined calendar period helps you start and review your commitments. Choose undated if your schedule changes often or you want to begin at any time. Check the exact coverage and page structure rather than choosing by label alone.
Can one digital planner work in every app?
Do not assume it can. Verify the file format, navigation, and app support from current official documentation, then test a sample or one small section when possible. This is especially important when your workflow depends on links, imports, or export settings.
What should I check before buying a digital planner?
Check the purpose, date range, layout, file format, navigation, device and app workflow, included files, license, support route, and refund terms. If a detail affects your decision but the product information does not state it, ask for clarification or choose a better-documented option.
How many pages should a beginner planner have?
There is no universal ideal page count. Choose enough structure for your actual planning job, then test whether you can maintain it. More pages only help when they make a useful decision easier to see or repeat.
Conclusion
How to Choose a Digital Planner for Beginners is a decision about fit, clarity, and follow-through. Start with the outcome, choose the right time period, match the layout to your routine, verify the file and app details, and test one small section before you scale up.
When you are ready for a ready-made starting point, explore the Temply Studio Digital Planner collection. Use the checklist above to confirm that the product, format, and workflow match what you actually need.
Related guide
Continue with the Digital planning guides, or read How to Use Digital Planner Stickers in GoodNotes for another focused workflow.
Temply Studio
Stop chasing your goals with sticky notes and scattered notebooks. Our premium digital planners and Canva templates are designed to help you plan with intention, stay consistent, and actually enjoy the process.


Questions about this guide?
Ask about the planner, share how you use it, or tell us what to cover next. Your email stays private.