
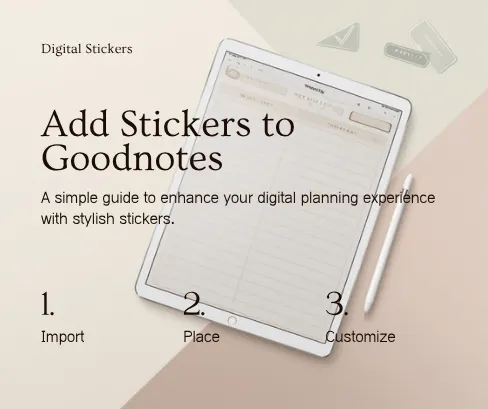
Digital stickers can turn a plain planner page into a more useful visual system. A priority flag can highlight one important task, a habit icon can make recurring routines easier to scan, and a small label can separate work, study, health, or personal plans without rewriting the page layout.
This guide explains how to add digital stickers to Goodnotes using PNG files, how to save frequently used stickers in the Elements tool, and how to avoid common problems such as white backgrounds, blurry graphics, or misplaced stickers. The steps below distinguish image insertion from saving reusable Elements; button names can differ by device and app version.
What You Need Before You Begin
You do not need a complicated setup. Prepare these items first:
- Goodnotes installed on a compatible device.
- A notebook or digital planner already open in the app.
- Digital sticker files, usually supplied as individual PNG images, a sticker sheet, or a Goodnotes collection file.
- Access to Files or Photos so Goodnotes can locate the images.
If your planner is still in your Downloads folder, begin with our step-by-step guide to importing a digital planner into Goodnotes. It explains how to bring a PDF into the app and test its navigation before decorating the pages.
Which Digital Sticker Format Should You Use?
Sticker bundles can contain several file types. Understanding the difference will help you choose the quickest import method.
Individual PNG files
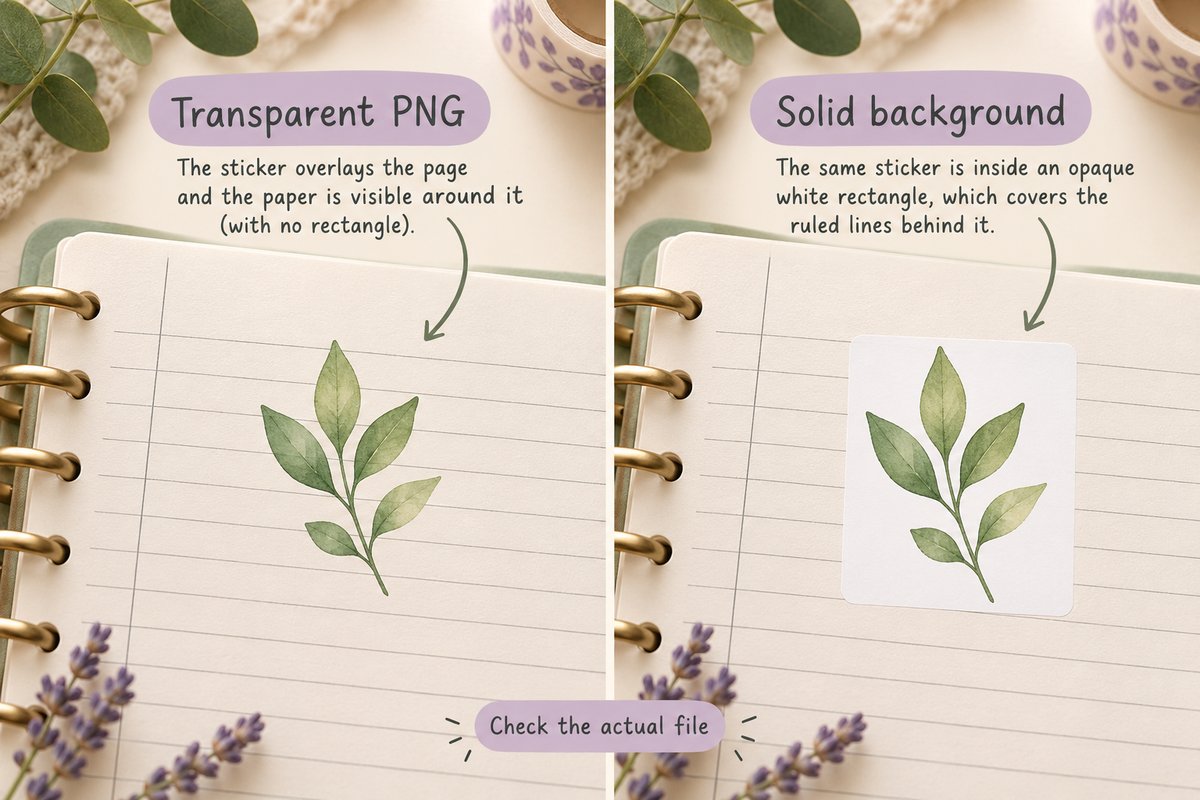
PNG is usually the most convenient format for digital planner stickers because it can preserve transparent backgrounds. Each sticker is saved as a separate image, so you can insert only the item you need and place it precisely on the page.
PNG sticker sheets
A sticker sheet places several designs in one image. It is useful for browsing a coordinated set, but you may need to crop the sheet after insertion or copy individual stickers from a pre-cropped sticker book. Check the product instructions because bundle structures vary.
JPG or JPEG files
Goodnotes can insert JPG images, but JPG does not support transparency. A sticker may therefore appear with a rectangular background. JPG works better for full-page decorative images, mood boards, photos, or cards where a solid background is intentional.
Goodnotes collection files
Some bundles include a collection file designed for the Elements library. This can save setup time because the stickers arrive as an organized group instead of separate images. Availability depends on the product, so confirm the included formats before downloading.
Quick recommendation: Use individual transparent PNG files when you want maximum flexibility. Use an Elements collection when the seller supplies one and you want faster access to the full set.
How to Add Digital Stickers to Goodnotes
For a single PNG, use the Images tool and choose a file from Photos or Files. Move the inserted image into position. You can review the current app instructions in the Goodnotes image insertion guide.
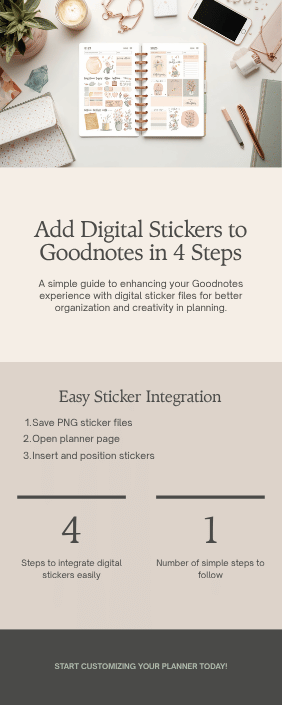
Step 1: Download and extract the sticker files
Download the sticker bundle to your device. If it arrives as a ZIP archive, extract it before opening Goodnotes. On an iPad or iPhone, the Files app can normally unzip the archive when you tap it. Open the extracted folder and confirm that the PNG files display correctly.
Keep the folder name descriptive, such as Work Planner Stickers, Neutral Habit Icons, or Study Labels. Clear folder names make future imports much easier than leaving several folders named “download” or “stickers.”
Step 2: Open the planner page
Open your digital planner and navigate to the page where the sticker should appear. Use navigation mode when moving through hyperlinked tabs, then switch to editing mode before inserting the sticker.
If you are still deciding which planner orientation fits your device, see our comparison of portrait and landscape digital planners. The amount of usable writing space affects how large your stickers should be.
Step 3: Insert and size the sticker
- Choose Images in the toolbar.
- Select the sticker in Photos, or use Insert from… to find it in Files.
- Drag the sticker to the correct position and use its handles to resize it.
Resize from a corner when possible so the sticker keeps its original proportions. After placing it, zoom out briefly and check whether it is still readable at your normal planning view.
Step 4: Copy, duplicate, or reuse the sticker
Reuse a placed sticker with your available copy or duplicate controls, or save it as an Element using the steps below. This works well for recurring items such as workouts, bill reminders, assignment deadlines, or weekly review markers.
Do not duplicate everything by default. A small reusable set is easier to scan than a planner page filled with decorative items that compete with appointments and notes.
How to Save Stickers in the Goodnotes Elements Tool
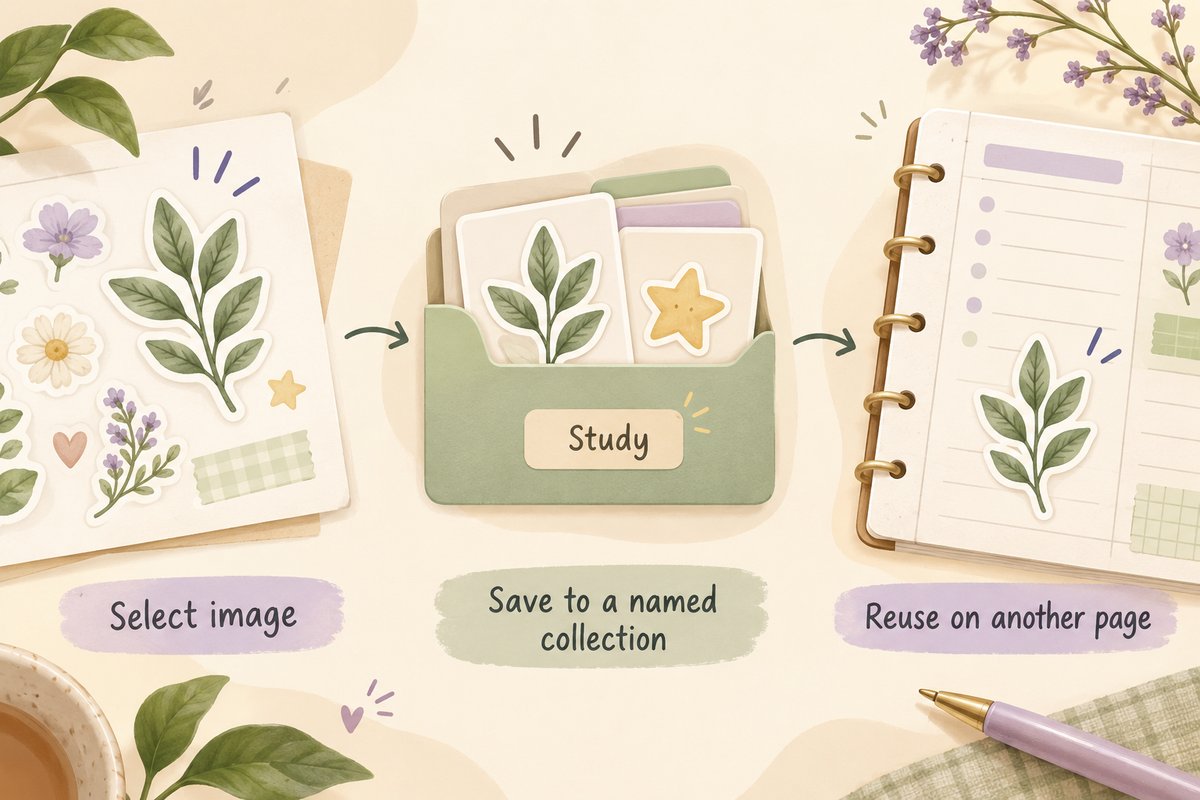
The Elements tool acts as a reusable library. Goodnotes explains that an element can include an image, shape, text box, handwriting, or a combination of objects, and collections help organize those items for later use. See the official Goodnotes Elements guide for current platform-specific details.
Save an inserted sticker as an Element
- Insert the sticker onto a planner page.
- Select the sticker and open More (…) > Create Element in its Object Menu.
- Select an existing collection or create a new one.
- Name the collection clearly and save the sticker.
The image insertion guide also describes Add Element: tap an image twice on iOS, or select it with Lasso on Android, Windows or Web. Use the label available in your selection menu. To reuse a saved sticker, open Elements, choose its collection, then select or drag it onto the page.
Add several images to a named collection
Open Elements and use the plus icon at the end of its collection list. Enter a title, choose Add Photos or Import from…, and create the collection. This is useful when you want a small set of individual sticker files available together.
Create collections by purpose
A functional collection structure might include:
- Priorities: flags, stars, urgent labels, and focus icons.
- Schedule: meetings, calls, appointments, travel, and deadlines.
- Habits: water, sleep, movement, reading, and self-care.
- Finance: payday, bills, savings, shopping, and subscription reminders.
- Study: assignments, exams, lectures, revision, and project milestones.
Organizing by function is usually more efficient than organizing only by color. You can still maintain a consistent palette, but the collection name should tell you when to use the stickers.
Common Digital Sticker Problems and How to Fix Them
The sticker has a white rectangular background
The file may be a JPG, or the PNG may have been exported without transparency. Check the original download and look for a folder labeled transparent PNG. If the product includes both sticker sheets and individual files, choose the individual transparent versions.
The sticker looks blurry
A small image becomes blurry when enlarged beyond its intended dimensions. Reinsert the original file and keep it closer to its natural size. Avoid repeatedly saving screenshots of screenshots, because each extra conversion can reduce clarity.
The sticker is difficult to select
Check whether the sticker is a separately inserted image or artwork flattened into the planner PDF. A picture that is part of the page is not a separate sticker object. Try the Images tool or your device’s object-selection controls for an inserted image.
The sticker moves when you write nearby
For an inserted image, select it, open its More menu and choose Lock Image. Goodnotes’ object-locking guide distinguishes images from Elements: Elements cannot currently be locked. If the option is absent, check the object type and app version.
A sticker covers a planner hyperlink
Keep decorative images away from hyperlinked tabs, arrows, and navigation buttons. If a sticker overlaps an interactive area, move or resize it before relying on that link. For more context on clickable navigation, read what a hyperlinked digital planner is and how its tabs work.
The page feels cluttered
Use stickers to communicate information, not simply to fill empty space. Start with one visual marker for each purpose: one priority icon, one deadline style, and one habit marker. Add more only when the extra symbol makes the page easier to understand.
How to Build a Practical Sticker Workflow
The most useful sticker system is consistent. Decide what each icon means and reuse that meaning across daily, weekly, and monthly pages.
Choose a small core set
Begin with five to ten stickers you expect to use every week. For example:
- A star for the day’s highest-priority task.
- A flag for deadlines.
- A phone icon for calls.
- A calendar icon for appointments.
- A check mark for completed milestones.
- A heart or wellness icon for self-care.
This creates a visual language that remains understandable even when your schedule changes.
Match stickers to the planner layout
Wide weekly planners can support labels and longer decorative strips, while portrait layouts often work better with compact icons placed beside tasks. Dated planners encourage a consistent year-long system, whereas undated planners let you restart or test different styles. Our dated versus undated planner comparison can help you choose the right base format.
Use color with a defined purpose
Instead of choosing colors randomly, assign each color to a category. You might use muted blue for work, sage for personal tasks, blush for wellness, and warm grey for administrative reminders. A limited palette makes the page more coherent and reduces the time spent deciding which sticker to use.
Review the system weekly
During a weekly review, remove stickers that no longer communicate useful information and move frequently used items into a convenient Elements collection. The goal is not to create the most decorated planner. The goal is to make the next action, deadline, or routine easier to see.
Choose a Planner That Works with Your Sticker Style
Temply Studio’s digital planner collection includes layouts for different planning preferences. Always review each product description for the included files, page orientation, dating format, and compatible apps before purchasing.
- The 2026 Landscape Daily & Weekly Planner PDF listing describes a horizontal layout with daily and weekly pages; check its current files and app requirements before buying.
- The Light Grey Hyperlinked Digital Planner includes an undated layout, editable Canva access, and coordinating digital stickers according to its current product description.
Frequently Asked Questions
How do I add digital stickers to Goodnotes from Files?
Open the destination page, choose Images, then Insert from… and select the PNG in Files. Move and resize the inserted image.
Can I use PNG stickers in Goodnotes?
Yes. Goodnotes supports image insertion, including PNG files. Transparent PNG files are especially useful for planner stickers because the page remains visible around the design.
Can I add a sticker pack to Goodnotes all at once?
It depends on the included format. A compatible collection file and a folder of PNGs use different workflows. For individual images, create a named collection in Elements and use Add Photos or Import from…; check the supplier’s instructions for a collection file.
Why does my digital sticker have a white background?
The image may be a JPG or a PNG without transparency. Check whether the download includes a transparent PNG folder and use those files instead.
How do I reuse the same sticker in several pages?
You can copy or duplicate an inserted sticker. For repeated use across many notebooks, save it to an Elements collection so it remains available from the toolbar.
Will adding stickers break planner hyperlinks?
The original PDF hyperlinks remain part of the planner, but placing an image directly over a navigation control can make that area inconvenient to tap. Keep stickers clear of tabs and navigation buttons.
Can I use Goodnotes stickers on Android, Windows, or the web?
Goodnotes provides image and Elements tools across supported platforms, but the exact controls and available features may differ. Follow the instructions for your device and keep the app updated.
Start with a Simple Sticker System
Learning how to add digital stickers to Goodnotes takes only a few steps: save the files, insert the image, resize it, and organize reusable designs in Elements. The bigger improvement comes from using each sticker consistently. A small, purposeful set will usually make a planner easier to scan than a large collection placed without a clear system.
Ready to build your setup? Explore Temply Studio digital planners, choose a layout that fits your device and routine, and create a sticker collection around the tasks you plan most often.
Temply Studio
Stop chasing your goals with sticky notes and scattered notebooks. Our premium digital planners and Canva templates are designed to help you plan with intention, stay consistent, and actually enjoy the process.


Questions about this guide?
Ask about the planner, share how you use it, or tell us what to cover next. Your email stays private.