


A KDP journal interior needs more than a page design that looks good on screen. Trim size, bleed, margins, page count and file format all affect how the printed book is produced. This checklist helps you prepare a journal interior while keeping Amazon KDP’s current specifications as the source of truth.
1. Choose the KDP journal interior trim size
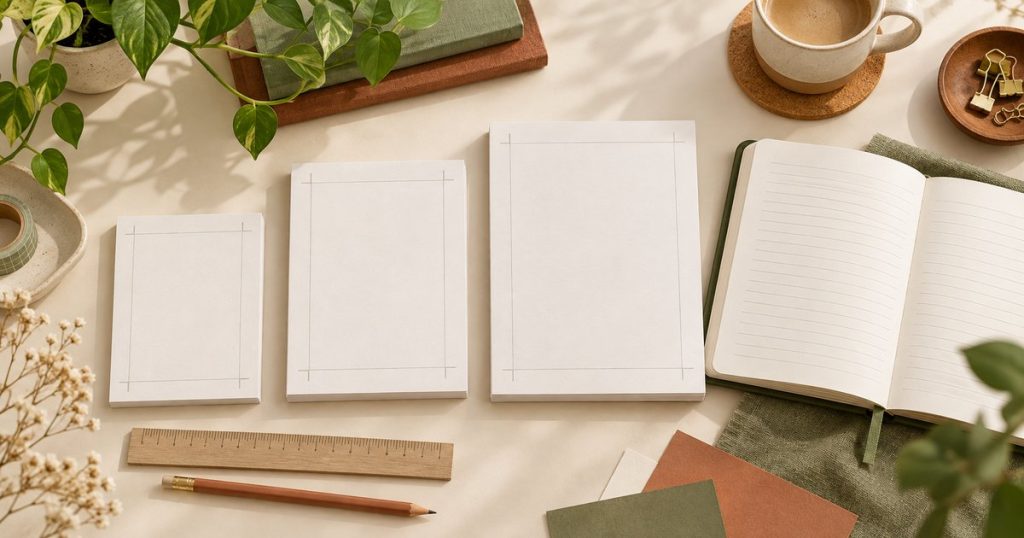
Trim size is the final width and height of the printed book. KDP lists several supported options, and 6 x 9 inches is described as a common U.S. paperback size. Your choice should match the journal’s use: a compact notebook, a writing journal, a workbook or a larger activity format. Decide the trim size before setting margins or laying out repeated pages.
Always check the official KDP trim-size, bleed and margin table for the current supported dimensions and page-count limits. KDP can update specifications, and a template that fits one format is not automatically correct for another.
2. Decide whether your KDP journal interior needs bleed
Bleed is needed when a background, image or graphic should reach the trimmed edge. KDP explains that interior bleed is optional for many layouts but must be set up correctly when used. If only one interior page needs edge-to-edge artwork, the whole interior file must use the bleed setup.
For a fixed-format PDF, follow KDP’s current formula rather than guessing. The page is made slightly larger than the trim size so the artwork can extend past the trim line. Keep important text, writing prompts and lines safely inside the margin area.
3. Set margins and the gutter
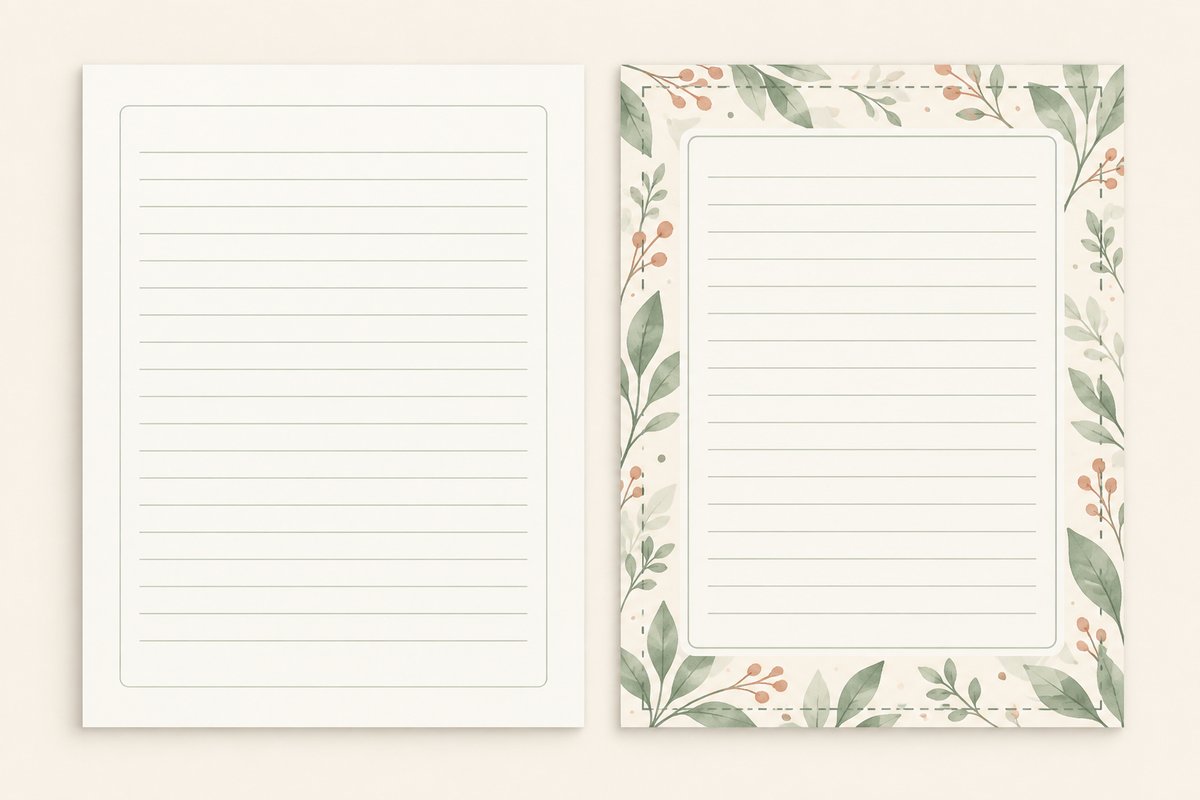
Margins protect content from being cut off during manufacturing. The inside margin, or gutter, depends on page count because thicker books need more room near the binding. Outside margins also vary depending on whether the interior uses bleed.
- Set trim size first.
- Confirm page count before choosing the inside margin.
- Keep text, rules and writing areas away from the trim and gutter.
- Preview left- and right-hand pages, not only a single page.

4. Build and test a repeatable KDP journal interior
For a daily or guided journal, create one master page and test the repeated sequence before exporting the full file. Check that page numbers, prompts, lines and headers remain aligned. If the interior includes different page types, review the transition between them and confirm that the page count stays within KDP’s current limits.
5. Export and inspect the PDF
KDP requires a PDF manuscript when any interior content uses bleed. Export individual pages, not two-page spreads. Embed fonts and images, flatten transparent objects and layers, and omit crop or trim marks. See the official paperback submission guidelines. Open the exported KDP journal interior PDF at 100% and inspect the first, middle and final pages. Look for clipped text, missing fonts, unexpected white borders, incorrect page orientation and inconsistent margins.
6. Complete the KDP journal interior upload checklist
- Confirm the KDP marketplace, binding and trim size.
- Check whether the interior is bleed or no-bleed.
- Verify the inside margin against the final page count.
- Export a PDF with the intended page size.
- Use KDP’s previewer and fix any warnings before publishing.
Temply Studio’s Children’s Daily Journal KDP Interior is a ready-made interior product; review its listing details and license before using it in a publishing workflow.
Worked example: a 120-page, 6 × 9 journal
For a 120-page KDP journal interior with no artwork touching the page edge, a no-bleed 6 × 9-inch file is one possible setup. KDP’s current table lists a minimum 0.375-inch inside margin for 24–150 pages and at least 0.25-inch outside margins without bleed. These are minimums, not a recommendation to crowd handwriting against the binding.
If artwork reaches an edge, the same trim size uses a 6.125 × 9.25-inch manuscript page with bleed. KDP lists at least 0.375-inch outside margins for that setup. Confirm the values in the official specifications before exporting. This example is not a specification for every Temply Studio product.
Practical checks before repeating the layout
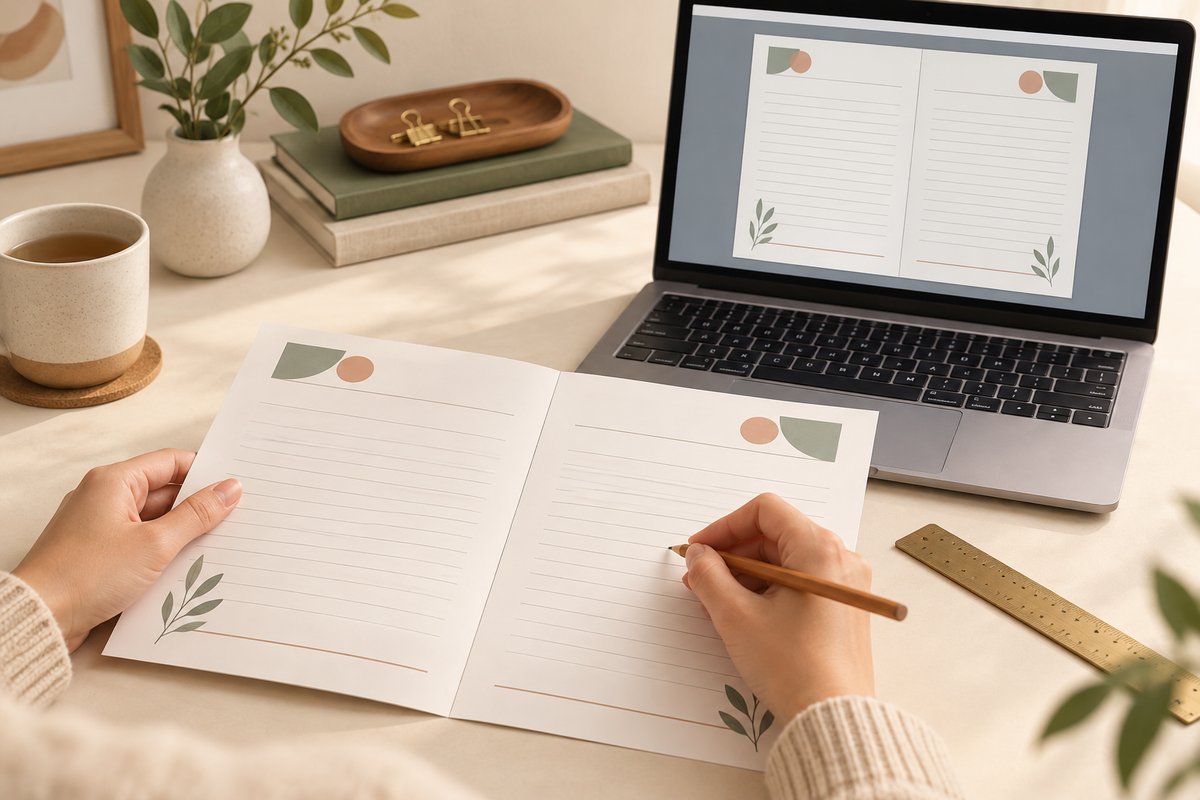
Print two facing sample pages of your KDP journal interior at actual size. Write on them with the kind of pen you expect the reader to use. Check whether the writing lines feel comfortable, whether the inner edge leaves room for a hand, and whether the prompts still make sense when the pages face each other.
| What you notice | What to review |
|---|---|
| Writing feels cramped | Line spacing, prompt length and usable writing area |
| Left and right pages feel unbalanced | Mirrored margins, page numbering and inside-edge spacing |
| A blank page interrupts the sequence | The order of front matter, prompts and repeated spreads |
| The PDF differs from the editable file | Fonts, page size, export settings and the final page count |
Keep a short production note beside the KDP journal interior source file: chosen trim size, bleed setting, final page count, software used and export date. When you change the design, update that note and test the exported PDF again. A clear record makes it easier to distinguish the approved file from an earlier draft.
Frequently asked questions
Is 6 x 9 inches the only KDP journal size?
No. It is a common paperback size, but KDP supports multiple trim-size options. Check the current official table for your binding and marketplace.
Do all journal interiors need bleed?
No. Bleed is relevant when artwork reaches the edge. A text- or line-based interior may use no bleed, but the final setup must match the file and KDP options.
Can I resize a journal template after designing it?
Resizing can change margins, line spacing and page count. Recheck every page and export a new PDF rather than assuming a resize is production-ready.
Conclusion
A reliable KDP journal interior starts with a clear trim-size decision. Choose bleed deliberately, calculate margins from the final page count and validate the exported PDF in KDP’s previewer. Treat the official KDP documentation as the final authority whenever specifications change.
Related guide
Continue with the Productivity & planning guides, or read Printable Cleaning Schedule by Room: A Simple Weekly Setup for another focused workflow.
Temply Studio
Stop chasing your goals with sticky notes and scattered notebooks. Our premium digital planners and Canva templates are designed to help you plan with intention, stay consistent, and actually enjoy the process.



Questions about this guide?
Ask about the planner, share how you use it, or tell us what to cover next. Your email stays private.