
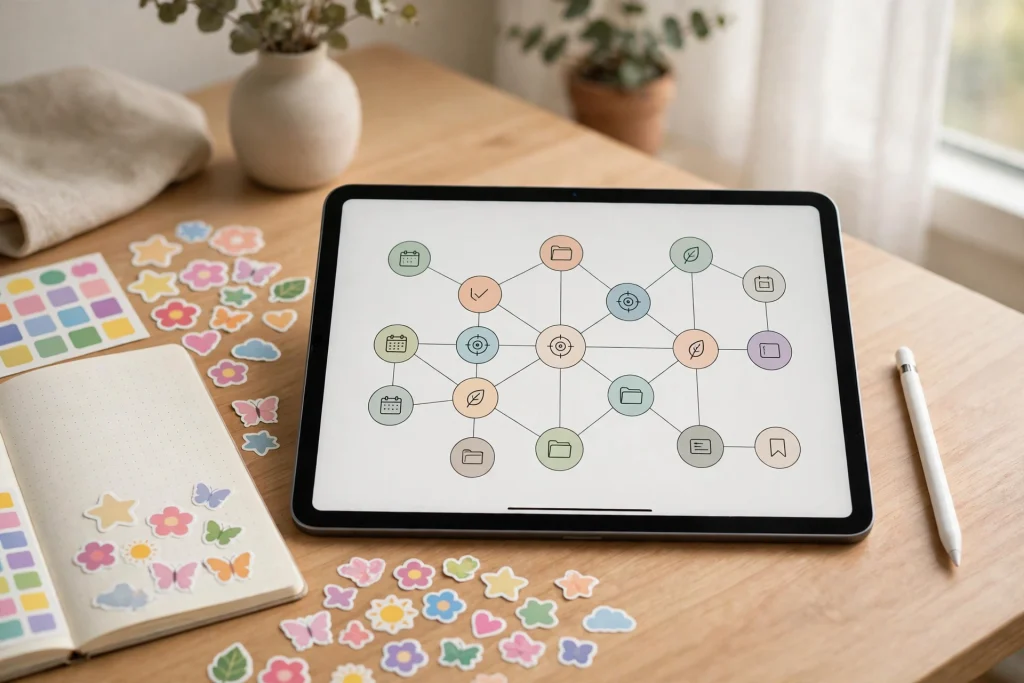
Quick answer: In GoodNotes 6, select typed text, choose Link, and point it at a page in the same document, a page in another document, or a website. Build one dashboard page in your planner with text links to each section, link that dashboard out to a separate notebook and to your sticker book, save reusable stickers with the Elements tool, then test every link in Read-Only mode before you rely on it. Internal links work in notebooks and whiteboards only — not in Text Documents or Study Sets.
A planner with no links is a book you have to flip through. A planner with goodnotes internal links planner setup is a dashboard: one tap takes you from your year view to today, from today to your meeting notes, from your meeting notes to the sticker that marks it done. This guide shows you how to link three documents together — your planner, a notebook and a sticker book — so your whole GoodNotes system navigates like one app instead of three separate files.
Everything here follows GoodNotes’ official support documentation for creating links, plus the practical setup that makes those links useful day after day. Where a tip comes from the user community rather than GoodNotes itself, we say so.
How internal links work in GoodNotes 6
GoodNotes supports two kinds of links. External links point to a website. Internal links point to a page inside GoodNotes: either another page in the same document, or a page in a different document in your library. That second option is the powerful one, because it lets a planner link out to a notebook, and a notebook link back to the planner.
There is one scope limit to know before you build anything: internal links work in notebooks and whiteboards only. Text Documents and Study Sets support external website links, but not internal links. If you build your dashboard in a Text Document, your internal links will not work — so always build planner dashboards inside a notebook document.
How to create a link, step by step
- Open the page where the link should live, and make sure it contains typed text. Links attach to text, not to handwriting or images (see the community workaround below for image links).
- Select the typed text you want to turn into a link. On iPad and iPhone, tap and hold the text, then drag the handles to select the full phrase.
- Open the Object Menu for the selection and choose Link. On macOS use Cmd-K; on other platforms use Ctrl-K as the shortcut.
- In Link Settings, choose where the link goes: a page in the same document, a page in another document in your library, or a website.
- Pick the exact destination page. For a planner dashboard, this is usually a specific month, week or day page — not just “the planner document.”
- Confirm the link. On Android, Windows and Web, tap the checkmark; on iOS and macOS, click outside the popover to confirm. Linked text appears underlined, which is your visual confirmation that the link exists.
That is the whole mechanic. The skill is not in creating one link — it is in choosing a small set of links you will actually tap every day, and keeping them accurate as your planner grows.
The three-document setup: planner, notebook, sticker book
Step 1: Build a dashboard page in your planner
Pick one page in your planner to be the dashboard — the first page of the planner, or a dedicated index page at the front, works best. On it, write short typed labels for everything you visit often: “This week,” “Today,” “Meeting notes,” “Goals,” “Sticker book.” Turn each label into a link pointing at its destination page. Keep labels short and honest: a label that says “Meeting notes” should land on your meeting-notes page, not on a general notebook cover.
Keep the dashboard to one page. A dashboard that sprawls over three pages is a dashboard you stop using. Eight to twelve links is plenty for most people.
Step 2: Link the dashboard out to a notebook
Your planner’s daily boxes are small. Long-form writing — meeting notes, project notes, journal entries — belongs in a separate notebook document, linked from the planner. Create the notebook, add a page for each topic or project, then go back to the planner dashboard and add links that point to pages in that notebook document, using the “page in another document” option in Link Settings.
Then do the return journey: in the notebook, add a small “Back to planner” link at the top of each section, pointing back to the planner dashboard. Two-way links are what make the system feel like one workspace instead of two files. Without the return link, you will tap into the notebook and then have to navigate back by hand — which quietly kills the habit.
Step 3: Link to your sticker book
A sticker book in GoodNotes is just a document full of sticker pages. Link it the same way: from the planner dashboard, add a “Stickers” link pointing at the sticker book’s index page. When you want a sticker, tap the link, find the sticker, copy it, and paste it onto your planner page. It sounds like an extra step, and it is — but it beats scrolling through a sticker book you never open, and it keeps your planner pages clean because stickers live in one place.
For reusable stickers, use the Elements tool: save a sticker as an element and you can drop the same sticker onto any page, any time, without reopening the sticker book at all. The dashboard link is for browsing; Elements is for the five stickers you use every week. Use both, for different jobs.
Making images and stickers tappable (community tip)
Links attach to typed text, so a sticker image on its own cannot be a link. A widely shared community workaround — marked here as user-reported, not official GoodNotes documentation — is to place a small invisible text box over the image or sticker, turn that text into a link, and make the text itself transparent or the same colour as the background. The whole sticker then behaves as a tappable button.
Two cautions with this trick. First, keep invisible-link overlays only on pages without existing links, or the overlapping tap areas will conflict and you will tap the wrong destination. Second, label the page somewhere visible — a tiny typed caption under the sticker — so future you remembers that the sticker is a link at all. An invisible link you forget about is worse than no link.
Test every link before you trust it
After linking, switch to Read-Only mode — GoodNotes’ presentation mode — and tap every link on the dashboard. This step catches the most common failure: a link that works in edit mode but points at the wrong page, usually because the destination was picked from a thumbnail that looked like the right month or week. Edit mode can hide that mistake; Read-Only mode shows you exactly what a tap does.
Test the return links too, and test the sticker-book link from a real daily page, not just from the dashboard. A system that only works when you start at the dashboard is a system you will abandon on a busy morning. If a link is wrong, fix it immediately — a dashboard with one broken link teaches you not to trust the dashboard at all.
When links break: the troubleshooting companion
Links can stop behaving the way you expect when a document is duplicated, renamed or moved, or when a page is inserted before the destination page and the link still points at the old page number. If a link lands on the wrong page, delete it and recreate it pointing at the correct page — do not try to nudge it. If taps do nothing at all, check first that you are in a notebook document (not a Text Document or Study Set), and that you are tapping in Read-Only or presentation mode rather than trying to tap while the text tool is active.
For the full troubleshooting sequence — links not working, links opening the wrong page, links disappearing after an update — see our companion guide to fixing GoodNotes hyperlinks not working. Build the system with this guide; fix it with that one.
A weekly routine that keeps the system alive
Systems die when they are built once and never maintained. Once a week, during your weekly review, spend two minutes on link maintenance: open the dashboard, tap the five links you used most that week, and fix anything stale. When you start a new notebook section, add its dashboard link the same day, not “later.” And when a project ends, remove its dashboard link — a dashboard full of dead projects is a dashboard you stop reading.
That weekly two minutes is the difference between a linked system and a collection of files. The planner you actually navigate is the planner you actually use, and navigation is a habit, not a feature you set up once.
To build this system, start with a planner that already has strong internal navigation: the 2027 Life Planner is a full-year hyperlinked planner for GoodNotes, and the 12-Tab Digital Notebook for GoodNotes makes a clean companion notebook with lined and grid pages. Our GoodNotes planner beginner’s guide covers importing and setting up your first planner, and our GoodNotes vs Apple Notes comparison explains why this kind of linked navigation is the decisive gap between the two apps.
FAQ
How do I create an internal link in GoodNotes 6?
Select typed text, choose Link in the Object Menu (or Cmd-K on macOS, Ctrl-K elsewhere), choose a page in the same document or another document in your library, and confirm. Linked text appears underlined.
Can I link from a planner to a different document?
Yes. In Link Settings choose a page in another document in your library. This is how a planner dashboard links out to a notebook and to a sticker book, and how those documents link back.
Why can’t I create an internal link in my document?
Internal links work in notebooks and whiteboards only. Text Documents and Study Sets support external website links, not internal links. Move your dashboard into a notebook document.
Can a sticker or image be a link?
Not directly — links attach to text. The community workaround is an invisible text box placed over the image, turned into a link. Use it only on pages without other links, to avoid tap conflicts.
How do I test my links?
Switch to Read-Only or presentation mode and tap every link, including return links. A link that works in edit mode but points at the wrong page is the common failure, and Read-Only mode is where you catch it.
Ready to build your linked system? Browse Temply Studio’s digital planners for GoodNotes and start with a planner that already navigates well.
For the official steps, check GoodNotes support on GoodNotes internal links before you build your dashboard.
Temply Studio
Stop chasing your goals with sticky notes and scattered notebooks. Our premium digital planners and Canva templates are designed to help you plan with intention, stay consistent, and actually enjoy the process.
Questions about this guide?
Ask about the planner, share how you use it, or tell us what to cover next. Your email stays private.