
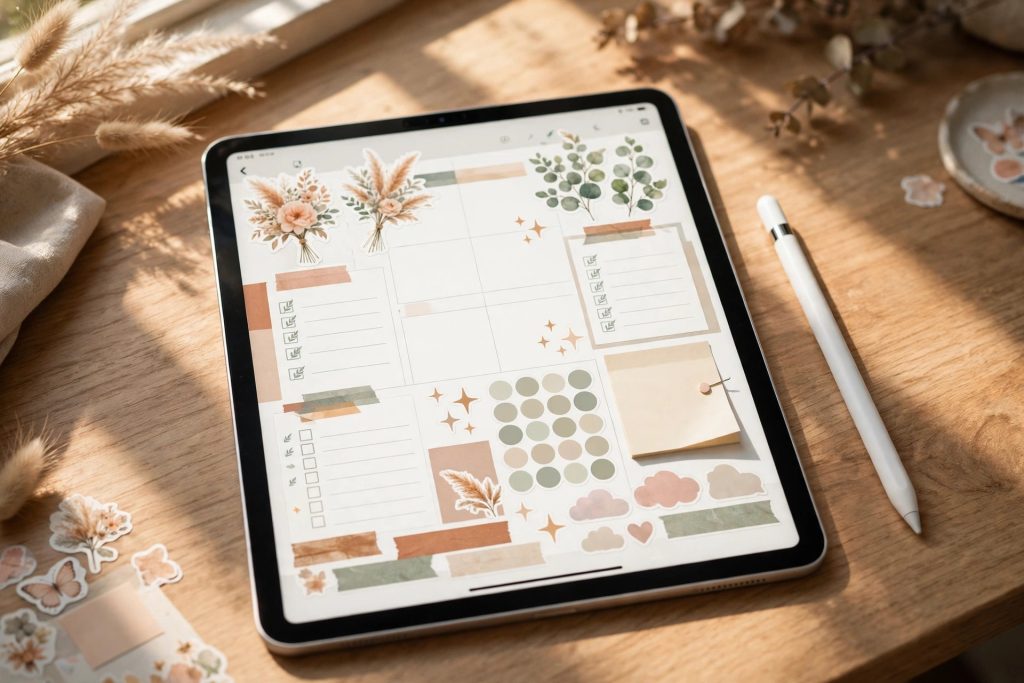
If you find yourself redrawing the same habit tracker, rewriting the same header, or hunting for the same sticker every week, the GoodNotes Elements tool is about to become your favourite feature. It lets you save almost anything you create in GoodNotes — handwriting, shapes, images, stickers and diagrams — and drop it into any notebook again in seconds, exactly as you saved it.
Think of Elements as your personal library of reusable pieces. Instead of starting from a blank page every time, you build a collection of the things you use again and again, then insert them wherever you need them. In this guide, you will learn exactly how to use the GoodNotes Elements tool: how to save an item, organise your collections, insert elements into a new page, edit or delete them, and use them to speed up your daily planning.
Quick Answer: How Do You Use the GoodNotes Elements Tool?
To use the GoodNotes Elements tool, select any item on a page with the Lasso tool, tap it, and choose Add Element to save it to a collection. To reuse it later, open the Elements tool from the toolbar, pick a collection, and tap the element to place it on your page. You can move, resize and recolour it after inserting, just like any other object in GoodNotes.
What Is the GoodNotes Elements tool?
The GoodNotes Elements tool is a built-in library that stores reusable items you create inside GoodNotes. Anything you can draw, write, paste or import onto a page can potentially become an element: a hand-drawn checkbox, a weekly header, a signature, a small diagram, a favourite sticker, or a decorative doodle. Once saved, that item lives in your Elements library and can be inserted into any notebook, on any page, as many times as you like.
Elements are different from templates. A template is a full page background — a weekly spread or a lined sheet. An element is a single piece that sits on top of a page: a habit tracker here, a small meal-planning box there, your signature at the bottom. Templates give you structure; elements make that structure personal.
Elements are also different from copy and paste. Copying only works while you remember what you copied and where it came from. An element is saved permanently in a named collection, so you can find it weeks or months later. You build your library once, and it keeps paying you back every day.
What Can You Save as an Element?
Almost anything you can select on a page can become an element. The most useful things to save are the items you recreate often. Here are the categories most digital planners rely on:
- Handwritten items: headers, titles, signatures, small notes, habit-tracker grids and hand-drawn boxes.
- Shapes and diagrams: arrows, flowcharts, mind-map branches, tables, calendars and timeline markers.
- Images and stickers: imported PNG stickers, photos, icons and decorative illustrations — including transparent PNGs, which keep their transparent background when inserted.
- Grouped objects: several items selected together, such as a header plus a divider line, saved as one element so they always land together.
There are a few limits worth knowing. Elements are saved as they appear on the page, so a handwriting element stays handwritten — it does not become editable text. Very large selections, such as a whole crowded page, make clumsy elements. And image-heavy elements take up storage, so keep your library focused on things you genuinely reuse.
How to Open the GoodNotes Elements Tool
Opening the Elements tool takes two taps. Follow these steps:
- Open any notebook in GoodNotes.
- Look at the toolbar at the top of the screen.
- Tap the Elements tool icon — it looks like a star inside a shape, near the other tools.
- The Elements panel slides open, showing your collections and the elements inside them.
If you cannot see the icon, check that you are using a recent version of GoodNotes — the icon has moved slightly between updates. On iPad, it sits in the main toolbar; on Mac, it appears in the same toolbar area. If the toolbar is crowded, it may be tucked into the overflow menu — the three dots at the end of the toolbar.
The Elements panel has two main areas: Collections and the elements inside the selected collection. GoodNotes ships with a default collection, but the real power comes from creating your own, which we cover below.
How to Save an Item as an Element
Saving an item is the heart of the GoodNotes Elements tool. The process is the same whether you are saving a single sticker or a whole hand-drawn header. Work through it slowly the first time; after that, it becomes muscle memory.
Step 1: Create or Find the Item
Start by making the item you want to save, or navigate to a page where it already exists. Draw a header, write your signature, or import a sticker. Get it looking exactly how you want it, because the element will be saved exactly as it appears — including colour, size and line thickness.
A useful habit is to create a dedicated “Elements workshop” page in a scratch notebook. Design headers, trackers and diagrams there without cluttering your planner, and save them as elements when they look right.
Step 2: Select It with the Lasso Tool
Tap the Lasso tool in the toolbar — the dashed loop icon. Then draw a loop around the item you want to save. GoodNotes selects everything inside the loop. If your selection catches something extra, tap outside the selection to deselect and try again with a tighter loop.
For precise selections, zoom in before you lasso — this matters most for small items like checkboxes or tiny icons. You can also select several items at once: loop around a header and its underline together, and they will be saved as a single element that always lands as one piece.
Step 3: Tap “Add Element”
With the item selected, tap on the selection. A small menu appears. Tap Add Element. GoodNotes will ask which collection to save it to — pick an existing one or create a new collection on the spot. Give the element a clear name if prompted, and you are done.
That is the whole process: lasso, tap, save. Name things the way you will search for them — “Monday header”, “water tracker”, “signature”, “weekly review box” — rather than accepting a generic name.
Saving Stickers as Elements
Stickers deserve special attention because they are the most common thing people save as elements. Import the stickers onto a page first, then save each one as an element in a “Stickers” collection. Once saved, you can insert a sticker into any notebook without re-importing the file.
Transparent PNG stickers work best: the transparent background is preserved, so the sticker sits cleanly on your planner page. If a sticker has a white box around it after inserting, the source image was probably a JPG or a PNG with a white background rather than true transparency. For a full walkthrough, see our GoodNotes stickers guide, which covers importing, cropping and organising sticker packs.
How to Organise Elements into Collections
A library with no organisation becomes a junk drawer. Collections are folders for your elements, and a little structure up front saves a lot of scrolling later. Here is a system that works well for most planners:
- Headers: weekly headers, monthly titles, section dividers and decorative banners.
- Trackers: habit trackers, mood trackers, water intake grids and budget boxes.
- Stickers: imported sticker packs, icons and decorative illustrations.
- Signatures & labels: your signature, name labels, “to do” markers and priority flags.
- Diagrams: flowcharts, timelines, mind-map pieces and study diagrams you reuse.
Creating a Collection and Keeping It Tidy
To create a collection, open the Elements panel and tap the option to add a new one, then type a name. Create collections when you save your first element of a new type, not in advance — a list of empty collections is just clutter. If an element ends up in the wrong collection, move it via its edit options or re-save it to the right place and delete the old copy. Review your collections every month or two: delete elements you never use, merge near-duplicates, and rename anything vague. Clear names — “Habit tracker 7-day”, not “Element 12” — make the difference between a library you use and one you forget.
How to Insert an Element into a Page
Inserting is even easier than saving. Here is the step-by-step:
- Open the notebook and navigate to the page where the element should go.
- Tap the Elements tool icon in the toolbar.
- Choose the collection that holds your element.
- Tap the element you want. It appears on the page, usually in the centre or near your last tap.
- Drag it into position. Use the corner handles to resize it, and rotate it if needed.
- Tap elsewhere on the page to deselect it.
After inserting, the element behaves like any other object on the page. You can move it, resize it, copy it, or delete it with the Lasso tool or by tapping it directly. One useful trick: insert an element, then immediately duplicate it with copy and paste if you need the same item twice on a page — a row of identical checkboxes, for example.
Elements insert at their saved size, scaled to fit the page. If an element lands too large or too small, resize it with a corner handle to keep the aspect ratio — dragging an edge handle can stretch it out of shape.
How to Edit or Delete an Element
Editing an Element on a Page
Once an element is inserted on a page, it is just ink, shapes or an image on that page. You can select it with the Lasso tool and move it, resize it, or erase parts of it. You can also draw over it or add handwriting next to it. None of this changes the saved element in your library — it only changes that one copy on that one page. This is exactly what you want when you insert a generic habit tracker and then fill it in for a specific week.
One thing to remember: a handwritten element stays as handwriting. You cannot convert it into typed text after inserting, and you cannot change its ink colour with a single tap unless the strokes are selected with the Lasso tool and recoloured. If you need the same header in different colours, save one element per colour, or save it in a neutral colour and recolour the copy on the page.
Editing the Saved Element in Your Library
To change the master copy in your library, open the Elements panel, find the element, and look for its edit options. Depending on your GoodNotes version, you can rename it, move it to another collection, or delete it. Some versions let you replace the saved element by inserting it, editing the copy, and saving it again under the same name — then deleting the old one.
When you update a library element, pages where you already inserted the old version do not change. Each inserted copy is independent once it lands on a page. That independence is useful: updating your “weekly header” element will not silently rewrite last month’s pages.
Deleting an Element
To delete an element from your library, open the Elements panel, locate the element, and use its delete option. Deleting from the library does not remove copies already placed on pages — those stay exactly where they are. Only delete elements you are sure you will not need again; if in doubt, move the element into an “Archive” collection instead of deleting it outright.
Practical Ways to Use the GoodNotes Elements Tool
Planner Headers and Section Titles
Design a header once — a hand-lettered “Weekly Review”, a neat “Goals” title with an underline flourish — and save it as an element. Every week, you drop it in instead of re-lettering it. Your planner gains a consistent look, and your Sunday setup takes minutes instead of half an hour.
Habit Trackers and Checklists
A habit tracker is a grid of boxes and labels that is tedious to redraw. Build it once, save it as an element, and insert a fresh copy each week or month. The same goes for a daily checklist, a cleaning schedule, or a workout log. For ready-made structure to pair with your elements, an undated digital planner gives you clean weekly and monthly pages that work beautifully with inserted tracker elements.
Signatures and Repeated Notes
If you sign digital notes, annotate PDFs for work, or add the same disclaimer to study pages, save your signature as an element. A neat, consistent signature inserted in two taps looks far better than a hurried scribble. The same trick works for repeated phrases — a “Reviewed on” stamp, a grading rubric, or a standard meeting-notes header.
Diagrams and Study Aids
Students get enormous value from elements. Save a blank mind-map branch, a timeline, a maths formula box, or a labelled diagram skeleton, then insert it into each new set of notes and fill it in. Rebuilding the skeleton each time wastes study time; inserting it takes seconds. A tabbed digital notebook pairs well with this approach — separate tabbed sections give every subject its own home, and your saved diagram elements drop straight into whichever section you need.
Tips for Getting the Most Out of Elements
A few habits separate people who love the GoodNotes Elements tool from people who try it once and forget it.
- Save at the size you use. Draw a header at roughly the size it will appear on the page. Elements saved tiny and scaled up look blurry; elements saved huge and scaled down waste taps.
- Keep the background clean. Save elements on a blank part of a page, away from ruled lines or other ink. Anything inside your lasso loop becomes part of the element, including stray dots.
- Use transparent PNGs for stickers. A sticker with a white background will always carry that white box. Transparent PNGs blend into any page.
- Name elements for future you. “Water tracker 8 glasses” is findable in three months. “Element 4” is not.
- Build a starter set in one sitting. Spend twenty minutes saving your five most-used items — a header, a tracker, a signature, a checkbox row and a favourite sticker. That starter set is enough to make the tool part of your daily habit.
Common Mistakes to Avoid
Saving a Messy Selection
The number one mistake is lassoing too loosely and saving extra strokes — a fragment of a neighbouring word, a dot from a bullet list, a piece of a ruled line. The element then carries that junk onto every page you insert it on. Zoom in, lasso tightly, and check the saved element’s preview before you rely on it.
Creating Elements You Never Reuse
Not everything deserves to be an element. A one-off doodle, a note specific to one day, or a diagram you will never draw again only clutters your library. Save things you will genuinely use at least three times. If you are not sure, wait until the second time you need it — that is the moment to save it.
Forgetting Which Copy You Are Editing
Editing an inserted copy does not update the library, and editing the library does not update copies already on pages. Both behaviours are by design, but they confuse people who expect a live link between the two. If you improve a header, remember to save the improved version back to the library, or next week’s insert will still be the old one.
Frequently Asked Questions
Can I use the GoodNotes Elements tool on iPhone and Mac as well as iPad?
Yes. The Elements tool is available across GoodNotes on iPad, iPhone and Mac, and your elements sync through iCloud, so a sticker saved on your iPad appears in the Elements panel on your Mac. The layout differs slightly between devices — on iPhone it is more compact — but saving, inserting, editing and deleting work the same way. Give iCloud a moment to sync after saving an element on one device before looking for it on another.
Do elements sync between devices?
Yes, elements sync via iCloud as part of your GoodNotes library, provided iCloud sync is enabled for GoodNotes on all your devices. Large image elements can take longer to appear on a second device, especially on a slow connection. If an element is missing elsewhere, check that both devices use the same iCloud account and that GoodNotes has finished syncing.
Can I share my elements with someone else?
GoodNotes does not offer a direct “export my element collection” button. The practical workaround is to share the source: send the other person the sticker files, the template, or a page containing the items, and they can save them as elements in their own library. Sticker creators often sell or share sticker packs as files for exactly this reason.
Why is my element blurry or pixelated when I insert it?
Blur usually means the element was saved too small and scaled up, or the source image was low resolution. The fix is to recreate the element at a larger size: draw or import it bigger, save it again, and insert the new version. For stickers, start from the highest-resolution PNG you have, and avoid saving a sticker from a screenshot of a small preview.
Start Building Your Elements Library Today
The GoodNotes Elements tool rewards a small amount of setup with daily time savings. Pick the five items you recreate most often — a header, a habit tracker, your signature, a checkbox row, a favourite sticker — and save them as elements in one short session. From then on, setting up your weekly spread is a matter of taps, not redrawing.
Pair your new library with a planner designed for it, and read our pillar guide to using a digital planner in GoodNotes for the full workflow. A tabbed digital notebook gives you tabbed sections for every part of your life, and your saved elements drop into any of them in seconds. Open your planner, save your first element, and feel the difference the next time you set up a week.
Temply Studio
Stop chasing your goals with sticky notes and scattered notebooks. Our premium digital planners and Canva templates are designed to help you plan with intention, stay consistent, and actually enjoy the process.


Questions about this guide?
Ask about the planner, share how you use it, or tell us what to cover next. Your email stays private.