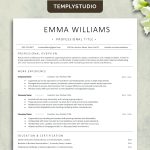

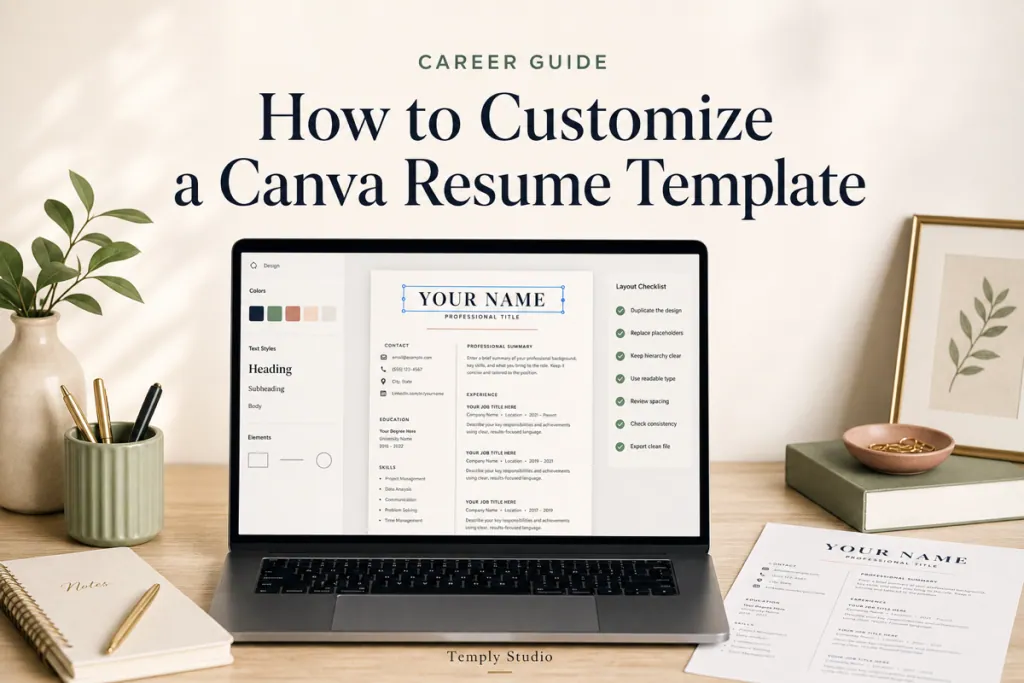
To customize a Canva resume template, start from your own copy, replace every placeholder with accurate information, and review the exported file outside Canva before submitting it. A polished design can support readability, but it cannot replace relevant experience, truthful claims, or the employer’s file-format instructions.
Quick answer: make a personal copy, confirm the included pages and editable elements, update content one section at a time, simplify anything that makes the reading order unclear, then export and inspect the final file before you apply.
Before you edit a Canva resume template
- Confirm that the product includes a Canva access link or Canva-compatible file.
- Open the seller’s link and create a copy in your own Canva account before editing.
- Check whether fonts, photos, icons, and graphic elements are included or need replacement.
- Keep an untouched copy so you can restore the layout if an element moves unexpectedly.
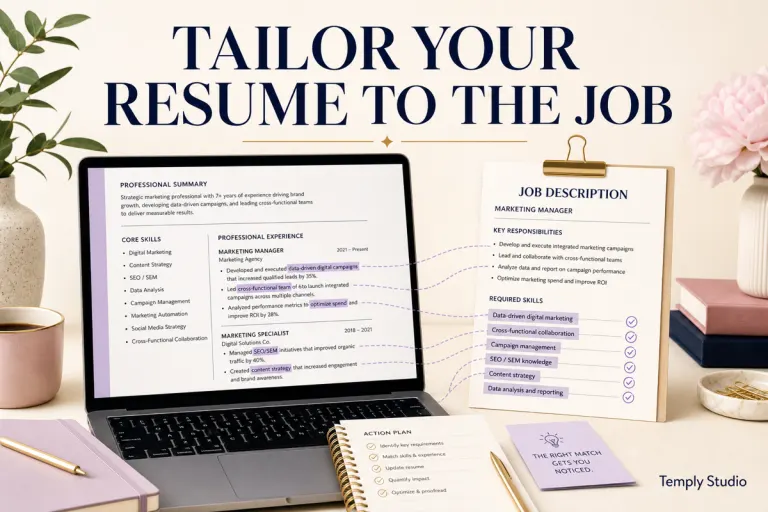
- Read the target job description and gather verified dates, titles, results, education, and contact details.
- Confirm the employer’s requested upload format before you begin.
Do not assume every Canva element is available on every account or that a design will export identically in every format. Check the current Canva interface and the product instructions when your screen differs from a tutorial.
Step 1: Make a private working copy
Open the supplied template link, then use Canva’s current copy or template workflow to create your own editable version. Rename the working file clearly, for example Firstname-Lastname-Resume-Master. Do not edit a seller’s shared master or rely on a public link for your only copy.
A private copy lets you tailor each application without changing the clean version. Duplicate the master again when you need a role-specific version.
Step 2: Replace contact details first
Update your name, professional email address, phone number, location when relevant, portfolio, and LinkedIn details. Remove every placeholder name, website, icon label, and sample address before editing the rest of the document.
- Use visible written contact details instead of relying only on icons.
- Test portfolio, email, and LinkedIn links after export.
- Do not include sensitive personal information unless it is appropriate for the market and application.
- Keep key contact details in the main document flow where possible.
Step 3: Rewrite the summary for the target role
Replace decorative or generic sample text with a short professional summary that describes your actual direction and relevant background. The summary should make sense alongside the work history that follows.
- State the type of role or area of work you are targeting.
- Use strengths that you can support with experience.
- Keep role-specific terms truthful and relevant.
- Avoid claims such as “best,” “world-class,” or “guaranteed results” without evidence.
Step 4: Edit experience without copying the sample
- Replace employer, job title, location, and dates.
- Delete all placeholder bullets.
- Add relevant responsibilities, scope, and verified results.
- Use a consistent verb tense and date format.
- Keep bullets readable instead of shrinking text to preserve the original page count.
- Shorten less relevant early experience when it no longer supports the role.
Do not invent numbers, promotions, team sizes, or outcomes. If exact figures are confidential, describe the work truthfully without implying unsupported results.
Step 5: Choose a simple visual hierarchy
Canva gives you visual control, so use it deliberately. A resume should make the name, target role, experience, education, and skills easy to find. Decorative treatment belongs behind the content, not in the way of it.
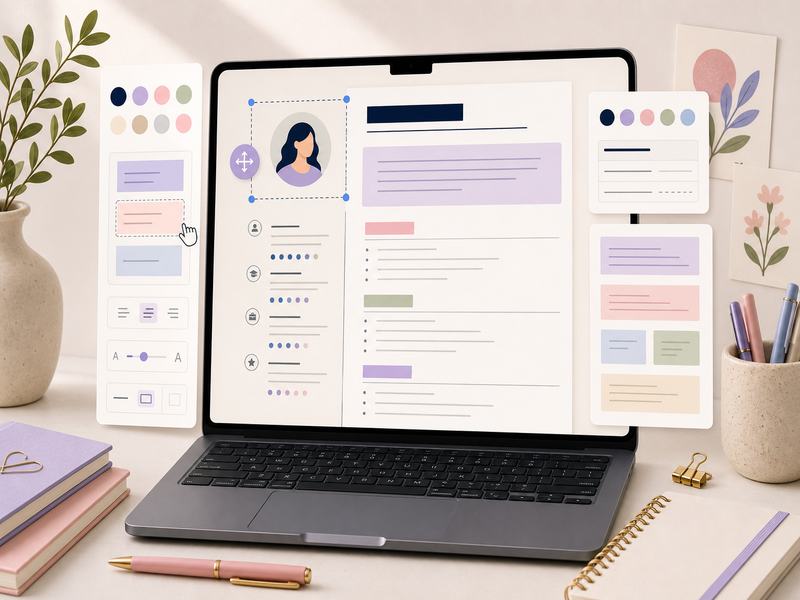
| Element | Helpful approach | Common risk |
|---|---|---|
| Headings | Use clear labels such as Experience, Education, Skills, and Projects | Creative labels that hide the section purpose |
| Type | Use readable fonts and consistent sizes | Too many font families or tiny body text |
| Icons | Use sparingly alongside written labels | Putting essential details only in icons |
| Columns | Keep primary experience in a predictable reading flow | Splitting essential chronology across a complex layout |
| Charts | Use only if they add clear value for a human reader | Replacing actual skill names with rating bars or stars |
Step 6: Check fonts, images, and third-party elements
Replace any sample photograph, logo, brand, or asset that does not belong to you. If the template includes fonts or Canva elements, review the product information and Canva’s current terms for your intended use. Do not assume that editing a third-party item gives you rights to redistribute it inside another template or digital product.
For job applications, a headshot may be customary in some markets and inappropriate in others. Follow local norms and employer instructions rather than copying the template example.
Step 7: Keep ATS-aware readability in mind
No Canva resume template can guarantee universal parsing or an interview outcome. For online application portals, use selectable text, recognizable section headings, a logical reading order, and minimal decoration around essential details.
- Do not turn your experience or contact information into an image.
- Use standard written headings.
- Review text boxes, tables, headers, footers, and columns carefully.
- Keep dates and job titles connected to the correct role.
- Follow the employer’s requested file type and upload instructions.
- Review parsed fields inside the application portal when they are shown.
Step 8: Export and inspect the final version
Keep the editable Canva version as your master. Create a separate file for each job application, then download only the format the employer accepts. Open the exported file outside Canva and inspect every page at normal zoom.
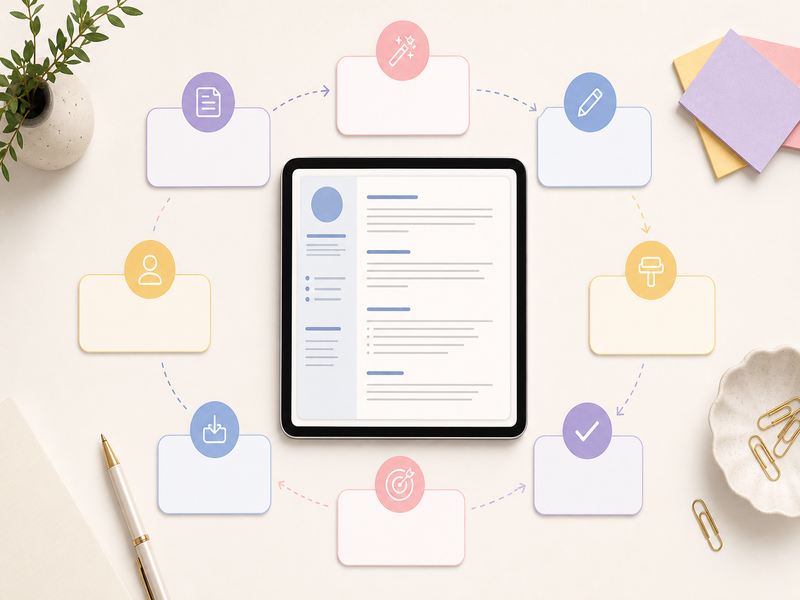
- Proofread names, dates, employers, links, and credentials.
- Check page breaks, spacing, and alignment.
- Confirm that no placeholder copy remains.
- Open the exported file on a second device when possible.
- Check that text is selectable and readable.
- Use a clear filename such as
Firstname-Lastname-Resume.pdf.
Frequently asked questions
Can I edit a Canva resume without Canva Pro?
It depends on the template and the elements it uses. Check the current template access requirements and replace or remove any element that your account cannot use. Do not promise a buyer that every template works on every Canva plan unless the product has been verified that way.
Should I submit a Canva link to an employer?
Only if the employer specifically requests a link. Most applications ask for an uploaded document. A link can also expose editing permissions or personal information if it is shared incorrectly.
Is a Canva resume ATS-friendly?
A Canva resume can use an ATS-aware layout, but no design guarantees universal parsing. Keep the content selectable, use clear headings, and follow the employer’s submission instructions.
Can I use the same resume for every job?
Keep one accurate master, then tailor the summary, selected experience, skills, and examples to each relevant role. Do not change facts simply to match a job description.
Customize for clarity, then verify the export
Canva can make it easier to control the visual presentation of a resume, but the final document still needs accurate content, readable structure, and a careful export check. Compare the Word vs Canva resume template guide, then browse the Temply Studio resume and CV collection. Verify the exact editable file, software requirements, fonts, license, and delivery information on each product page.
Official reference
Temply Studio
Stop chasing your goals with sticky notes and scattered notebooks. Our premium digital planners and Canva templates are designed to help you plan with intention, stay consistent, and actually enjoy the process.
Questions about this guide?
Ask about the planner, share how you use it, or tell us what to cover next. Your email stays private.