
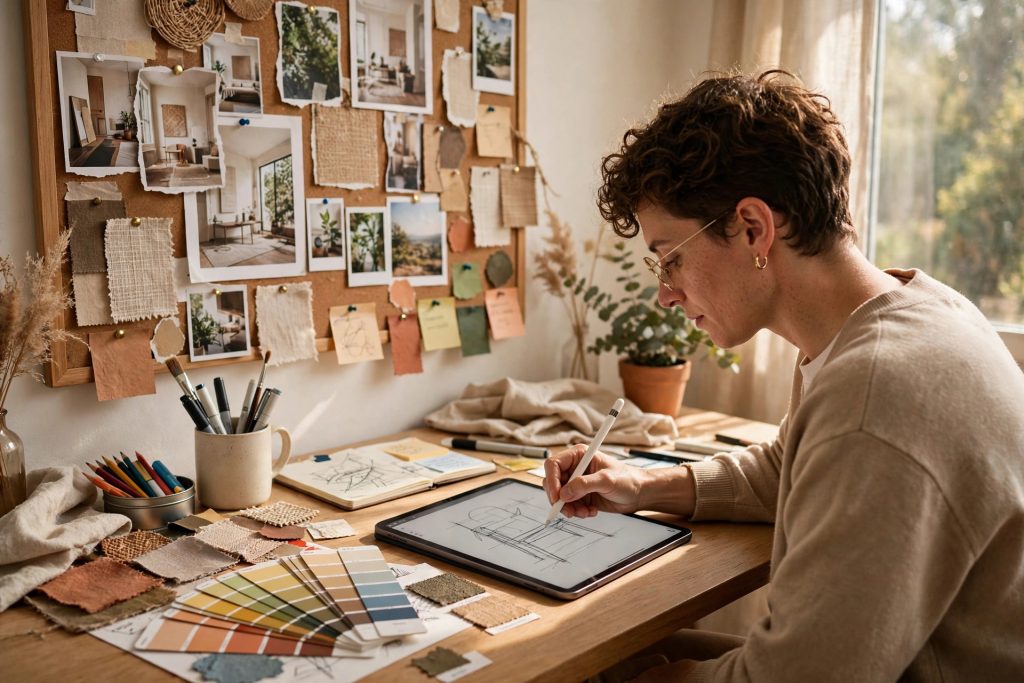
GoodNotes for designers is one of the most underrated creative tools on the iPad. Most people know GoodNotes as a note-taking app for students, but designers are quietly using it as a portable sketchbook, a client brief hub, and a mood board studio — all in one place. If you already own an iPad and an Apple Pencil, you may not need another expensive design app to organise your creative work. You need a system.
This guide shows you exactly how to set up GoodNotes for designers, from your first sketchbook page to presenting finished concepts to a client. You will learn how to build a designer sketchbook that feels natural to draw in, how to turn messy client conversations into clear brief pages, how to collect references into mood boards, and how to keep every project organised without losing a single idea. Everything here works with the tools GoodNotes actually has — pen tools, shapes, images, the lasso, stickers and Elements, PDF import, and presentation mode — and every workaround is honest about what the app can and cannot do.
Quick answer: GoodNotes for designers works best as a creative organiser and sketching companion, not a replacement for Photoshop or Illustrator. Use it to sketch ideas, store client briefs, build mood boards, and present concepts — then move final artwork into your dedicated design software. Set up one notebook per project, a template page for briefs, and a reusable Elements library, and your iPad becomes a studio you can carry anywhere.
Why GoodNotes for designers works so well
Designers love paper sketchbooks, but paper has limits. You cannot search a paper sketchbook, you cannot move a sketch from page twelve to page two, and you cannot email a mood board to a client from a café. GoodNotes for designers keeps the feeling of pen on paper while removing those limits. Your sketches, notes, references, and briefs live in one searchable place, and your whole studio fits in a bag.
The app is also fast. There is no loading screen full of panels and toolbars to learn. You open a notebook, pick up the Pencil, and draw. That low friction matters more than most designers expect. The best ideas often arrive in the ten minutes between meetings, on a train, or while waiting for a coffee. A tool that opens instantly captures those ideas; a tool that needs a desk and a monitor does not.
GoodNotes is also affordable compared with a subscription design suite. Many designers already pay for it, or own it outright, and the iPad they carry already runs it. That makes it an easy addition to a workflow rather than a new expense to justify. It is not a replacement for professional design software — final logos, print layouts, and vector work still belong in dedicated tools — but it is a superb place to think, explore, and organise before the final work begins.
What GoodNotes can and cannot do
Honesty matters here, because the wrong expectations ruin a good tool. GoodNotes is a note-taking and planning app with strong drawing tools. It is not a photo editor and it is not a vector illustration app. Understanding the boundary helps you use it well.
- It can: freehand sketching with pen, pencil, and highlighter tools; drawing clean shapes and straight lines; importing images and PDFs; writing and annotating by hand; organising pages into notebooks and folders; searching your handwritten notes; presenting pages full screen to a client.
- It cannot: offer Photoshop-style layers. There is no layer panel, no blending modes, and no non-destructive editing. What you draw sits on the page, and the lasso tool is your main way to move or resize it.
- The workaround: designers use separate pages as layers — one page for the rough sketch, one for the refined version, one for the colour test. They also import reference images onto their own pages, keep colour palettes as saved Elements, and duplicate pages before trying a risky change. These habits replace layers surprisingly well.
Once you accept that trade-off, GoodNotes for designers becomes genuinely powerful. You stop fighting the app and start using it for what it is brilliant at: thinking on paper, digitally.
Setting up your designer sketchbook
Your sketchbook is the heart of the system. A good setup takes twenty minutes and saves hours later. Start with one notebook dedicated to sketching, separate from client work, so you always have a pressure-free place to draw badly, test ideas, and warm up.
Choose the right paper and page size
GoodNotes offers several paper templates, and the choice changes how sketching feels. Dotted paper is the favourite of most designers because the dots guide alignment without the visual noise of grid lines. Blank paper feels closest to a real sketchbook and is best for free exploration. Lined paper suits written notes and lists but fights with drawing.
For page size, A4 or GoodNotes’ standard size works well on a 12.9-inch iPad, while a smaller size suits an 11-inch iPad or iPad mini. Pick one size and stick with it across your sketchbook so pages feel consistent when you present them. You can change the paper template of any page later, so do not overthink the first choice — start drawing and adjust as you go.
Build a sketchbook structure that stays useful
A sketchbook without structure becomes a pile of pages you never revisit. A little structure keeps it alive. Try this simple layout:
- Cover page: your name, the date range, and a small self-portrait or logo. This makes the notebook feel like yours and helps you find it months later.
- Warm-up pages: two or three pages at the front for doodles, line practice, and colour tests. Warming up before client work improves your drawing and keeps the pressure off.
- Idea pages: one idea per page, dated, with a short title at the top. Dating pages matters — you will want to know when an idea arrived.
- Reference pages: pages where you paste photos, screenshots, and colour swatches that inspire you, with a line or two about what caught your eye.
- Index page: at the front or back, a handwritten list of your best ideas with their page numbers. GoodNotes search helps too, but a personal index is faster for visual work.
Keep the sketchbook separate from client notebooks. When a sketch becomes a real project, duplicate the page into the client’s notebook instead of moving it. That way your sketchbook keeps its history and the client notebook gets the work.
Pen settings designers actually use
GoodNotes gives you a fountain pen, a ball pen, a brush pen, a pencil, and a highlighter, each with adjustable thickness and colour. Most designers settle on three favourites: a fine ball pen for line work, a brush pen for expressive strokes, and a pencil for rough sketching. Set your three pen presets to your preferred colours — a dark grey or black for lines, one accent colour, and a mid-grey for shading — and you will stop fiddling with settings mid-sketch.
Turn on the shapes tool’s “draw and hold” behaviour so circles, rectangles, and lines snap clean. It is the fastest way to sketch wireframes, logo grids, and layout boxes without switching apps. And keep the eraser set to “erase whole strokes” for quick cleanup, switching to precise erasing only when you need it.
Client brief pages: from messy conversation to clear direction
Every design project starts with a conversation — a call, a coffee meeting, a long email thread — and the designer’s job is to turn that conversation into a brief that can actually be designed from. GoodNotes for designers shines here because you can capture the conversation in the client’s own words, then shape it into a structured brief on the same page.
Create a reusable brief template
Build one brief template page and save it as a template or an Element you can reuse for every client. A good brief page includes:
- Client and project name at the top, with the date and the contact person’s name.
- The goal in one sentence: what success looks like for this project.
- Audience: who the design is for, in plain language.
- Must-haves: the non-negotiable items — logo, colours, text, deadlines.
- Must-nots: what to avoid, including styles the client dislikes.
- References: links, screenshots, or imported images of work the client likes.
- Deliverables and deadline: exactly what you will hand over, and when.
- Budget or scope note: even a rough note prevents painful misunderstandings later.
During the first client call, open the template and write directly into it. Clients notice when a designer takes structured notes, and it builds trust immediately. After the call, spend five minutes tidying the page — highlight the three most important points, circle the deadline, and add anything you forgot. That five-minute habit is the difference between a brief you can design from and notes you never read again.
Annotate PDFs and contracts in place
Clients often send briefs, brand guidelines, or contracts as PDFs. Import them straight into the client’s notebook in GoodNotes and annotate them by hand. Circle the key requirements, underline the deadlines, and write questions in the margins. Everything stays with the project instead of scattered across email attachments and printed pages.
When a client sends a revised brief, import the new version on the following pages rather than replacing the old one. Keeping both versions lets you see what changed and protects you if a disagreement arises later about what was agreed.
Mood boards in GoodNotes: collect, arrange, present
A mood board is where a project finds its feeling — the colours, textures, type, and imagery that will shape the final design. GoodNotes for designers handles mood boards beautifully because collecting and arranging images on a page is fast and tactile. You can build a board in minutes during a client call and refine it over days.
How to build a mood board page
- Start with a blank page in the client’s notebook and write the project name and the mood in a few words at the top — for example, “warm, editorial, confident”.
- Import reference images: photos, screenshots, textures, packaging, type samples, and colour swatches. Drag them in from Photos, Files, or the web, then resize and arrange them with the lasso tool.
- Add colour swatches: draw small filled rectangles in your palette colours, or import a screenshot of a palette. Label each swatch with its hex code so you can use the exact colour later in your design software.
- Annotate by hand: write short notes next to images — “this texture”, “not this colour”, “client loves this”. Handwritten notes feel personal and make the board easier to talk through with a client.
- Leave white space: a crowded board communicates nothing. Aim for five to nine images with breathing room between them.
Save your best colour palettes and texture swatches as Elements so you can drop them into any future mood board in seconds. Over time you build a personal library of palettes that becomes one of your most valuable assets.
Multiple boards for one project
Strong designers rarely present one mood board. They present two or three directions and let the client react. In GoodNotes this is easy: duplicate the mood board page twice and change the images on each copy to explore a different direction — one warm and editorial, one bold and modern, one minimal and quiet. Presenting three directions turns a vague “I don’t like it” into a useful “I like the feeling of board two but the colours of board one”, which is the kind of feedback you can actually design from.
Presenting your work to clients
Presentation mode is one of GoodNotes’ most underused features for designers. It hides the interface and shows your pages full screen, turning your iPad into a presentation device. You can walk a client through sketches, mood boards, and concepts without a laptop, a projector, or a printed deck.
Prepare a presentation notebook
Before a client meeting, create a small presentation notebook — or a section at the front of the client’s notebook — containing only the pages you want to show, in the order you want to show them. Duplicate the pages in rather than moving them, so your working notebook stays intact. Order matters: start with the mood board, then the sketches, then the refined concepts, then the next steps. That arc tells a story — feeling, exploration, direction, action — and clients follow stories far better than they follow a pile of images.
Clean each page before presenting. Remove stray marks, make sure titles are legible, and check that images are not covering your notes. A quick pass with the eraser and the lasso makes the difference between a page that looks like a working sketch and a page that looks like a professional presentation.
Presenting live, in person or on a call
In person, hand the client the iPad or connect it to a screen with AirPlay. Let them swipe through pages themselves — people engage more when they control the pace. On a video call, share your iPad screen and use the laser pointer tool in presentation mode to draw attention to details as you talk. The laser pointer is small but powerful: it lets you point at a colour, a shape, or a word without interrupting your sentence.
Take notes during the presentation on a blank page at the end of the presentation notebook. Write down the client’s exact words — “warmer”, “less formal”, “more space” — while they are fresh. Those words become the brief for the next round, and writing them in front of the client shows you are listening.
Organising projects so nothing gets lost
Designers juggle many projects, and disorganisation is expensive. A lost sketch, a forgotten brief, or a mood board you cannot find costs time and credibility. GoodNotes for designers rewards a simple, consistent folder system.
A folder system that scales
- Clients folder: one folder per client, containing one notebook per project. Name notebooks with the client, the project, and the year — for example, “Marina Café — Menu Redesign 2026”.
- Sketchbook folder: your personal sketchbooks, one per quarter or per year.
- Library folder: notebooks holding your reusable assets — colour palettes, texture swatches, lettering practice, and template pages.
- Archive folder: finished projects move here, so your active folders stay short and calm.
Favourite the two or three notebooks you are working on this week so they sit at the top of the library. Unfavourite them when the project ends. That tiny habit keeps your daily view focused on current work instead of a long list of everything you have ever done.
Searching handwritten notes
GoodNotes can search your handwriting, which is genuinely useful when you remember writing something but not where. Write keywords clearly — client names, project names, colour names — and the search will find them across notebooks. For visual work, though, search has limits: it cannot find a sketch by what it looks like. That is why dating pages, titling idea pages, and keeping a short index page in each sketchbook still matter. Search finds words; structure finds images.
Back up regularly. GoodNotes syncs through iCloud, and you can also export notebooks as PDFs. At the end of each project, export a PDF copy of the client notebook and store it with your project files. It costs a minute and protects you if anything ever goes wrong with a device.
A simple weekly workflow for designers
Tools only help when they fit into a routine. Here is a weekly workflow that many designers using GoodNotes settle into, and it takes less time than it looks because most steps are five minutes, not fifty.
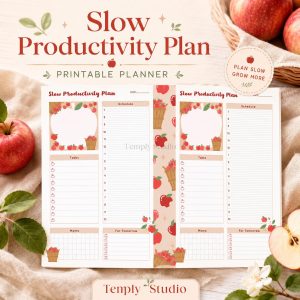
- Monday — plan the week: open your planner and list the week’s projects, deadlines, and meetings. A digital planner keeps this visible alongside your design work. An undated digital planner works well here because its weekly pages pair with your sketchbooks without forcing a dated layout.
- Daily — warm up and sketch: spend ten minutes in your sketchbook before client work. Doodles, lettering, colour tests — anything without a deadline attached.
- During client work — capture everything: brief notes, reference images, and sketches go straight into the client’s notebook, on the right pages, while you work. Never promise yourself you will file it later.
- Friday — review and tidy: spend twenty minutes reviewing the week’s pages. Highlight the best ideas, duplicate strong sketches into the right project notebooks, archive finished work, and export PDFs of completed projects. Then plan next week’s top three priorities.
The Friday review is the step most people skip and the step that matters most. Without it, notebooks fill up and the system slowly stops working. With it, your GoodNotes library stays a tool you trust instead of a drawer you avoid.
Pairing GoodNotes with the rest of your design toolkit
GoodNotes for designers works best as part of a toolkit, not as the whole toolkit. Its job is thinking, exploring, organising, and presenting. Final artwork belongs in the software built for it — Illustrator or Affinity Designer for vector work, Photoshop or Procreate for raster work, Figma for interface design, and InDesign for print layouts.
The handoff is simple. Export a sketch or mood board page as an image or PDF from GoodNotes, then import it into your design app as a reference layer — or simply keep it open on your iPad beside your computer while you work. Many designers keep the iPad on a stand next to their monitor with the mood board visible, like a digital pinboard that never falls off the wall.
For sketching practice and concept work, pair GoodNotes with a structured notebook. A tabbed digital notebook gives you separate tabbed sections in one notebook, which suits designers who want a sketchbook, a briefs section, a mood board section, and a notes section without juggling four files. Tabs make switching between sections one tap instead of a search, and that speed matters when an idea arrives mid-conversation.
If you want a deeper grounding in the app before building your designer setup, start with the pillar guide: How to Use a Digital Planner in GoodNotes. It covers the fundamentals — navigation, writing, templates, and organisation — that every workflow in this article builds on.
Common mistakes designers make with GoodNotes
- Treating it like Photoshop: expecting layers, masks, and blending modes leads to frustration. Use GoodNotes for thinking and organising, and let dedicated software handle final artwork.
- One giant notebook for everything: a single notebook holding every client, sketch, and idea becomes unsearchable. One notebook per project, one sketchbook per period.
- Never dating or titling pages: undated, untitled pages are nearly impossible to find later. A date and three words at the top of each page cost seconds and save hours.
- Skipping the Friday review: notebooks only stay useful if you tidy them. Twenty minutes a week is enough.
- Over-collecting references: a mood board with thirty images says nothing. Five to nine strong images, chosen with intent, say everything.
- Forgetting to back up: iCloud sync is not a backup strategy on its own. Export finished project notebooks as PDFs and store them with your project files.
Setting up today: your first hour
If you are starting from zero, here is a first hour that leaves you with a working designer setup in GoodNotes. Do not try to build the whole system at once — build the minimum, then let it grow with real projects.
- Minutes 0–10: create a sketchbook notebook with dotted paper and a cover page. Draw anything for five minutes to get comfortable.
- Minutes 10–25: build your brief template page with the headings listed above, and save it as a reusable template.
- Minutes 25–40: create a mood board page for a current or imaginary project. Import five images, add three colour swatches with hex codes, and write two lines of annotation.
- Minutes 40–50: set up your folders — Clients, Sketchbook, Library, Archive — and move your new notebooks into place.
- Minutes 50–60: open a planner and write next week’s top three priorities. If you want a planner that pairs with this setup, the 2027 Life Planner gives you a full dated year to plan projects, deadlines, and reviews around.
After that hour you have a sketchbook, a brief template, a mood board, an organised library, and a plan. That is a complete designer studio in GoodNotes, built from tools you already own.
Frequently asked questions
Is GoodNotes good for designers?
Yes — as a sketching, organising, and presenting tool. GoodNotes for designers is excellent for sketchbooks, client briefs, mood boards, and presenting concepts, especially on iPad with Apple Pencil. It is not a replacement for Photoshop, Illustrator, or Figma, because it has no layers or vector tools. Use it for thinking and organising, and move final artwork into dedicated design software.
Can you make mood boards in GoodNotes?
Yes. Import reference images onto a blank page, arrange them with the lasso tool, add hand-drawn colour swatches with hex codes, and annotate by hand. Keep boards to five to nine images with white space between them. You can duplicate a board page to explore different creative directions for the same project, and present boards full screen in presentation mode.
Does GoodNotes have layers like Photoshop?
No. GoodNotes does not have Photoshop-style layers, blending modes, or non-destructive editing. Designers work around this by using separate pages as layers — one page for the rough sketch, one for the refined version, one for colour tests — and by duplicating a page before trying a risky change. Imported reference images and saved colour palettes in Elements also help.
How do designers organise client work in GoodNotes?
Use one folder per client, one notebook per project, and a consistent naming pattern such as client, project, and year. Keep a separate sketchbook for personal ideas, a library folder for reusable palettes and templates, and an archive folder for finished work. Date and title every page, favourite the notebooks you are working on this week, and export a PDF of each client notebook when the project ends.
GoodNotes will not replace your design software, and it should not try. What it can do is give every project a home — a sketchbook for ideas, a brief page for direction, a mood board for feeling, and a presentation you can carry into any meeting. Set it up once, keep the Friday review habit, and your iPad becomes the quietest, most reliable member of your design toolkit.
Ready to build your designer setup? Start with a tabbed digital notebook — separate tabbed sections for sketching, briefs, mood boards, and notes, all in one notebook you can open anywhere inspiration strikes.
Temply Studio
Stop chasing your goals with sticky notes and scattered notebooks. Our premium digital planners and Canva templates are designed to help you plan with intention, stay consistent, and actually enjoy the process.
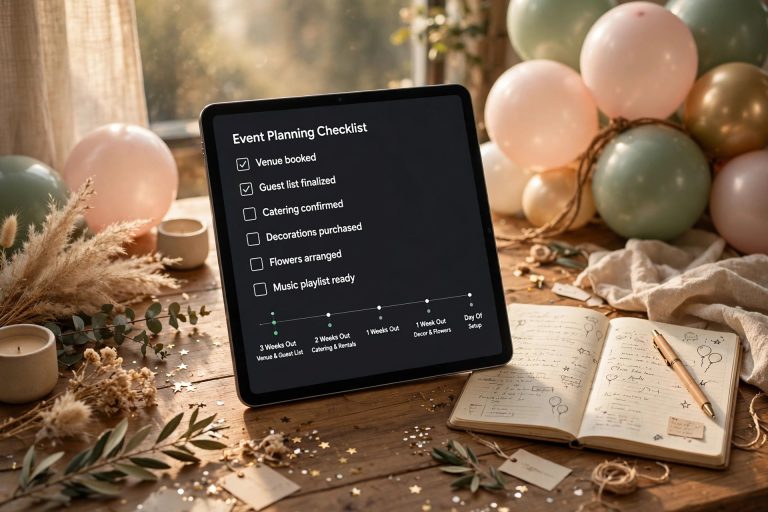
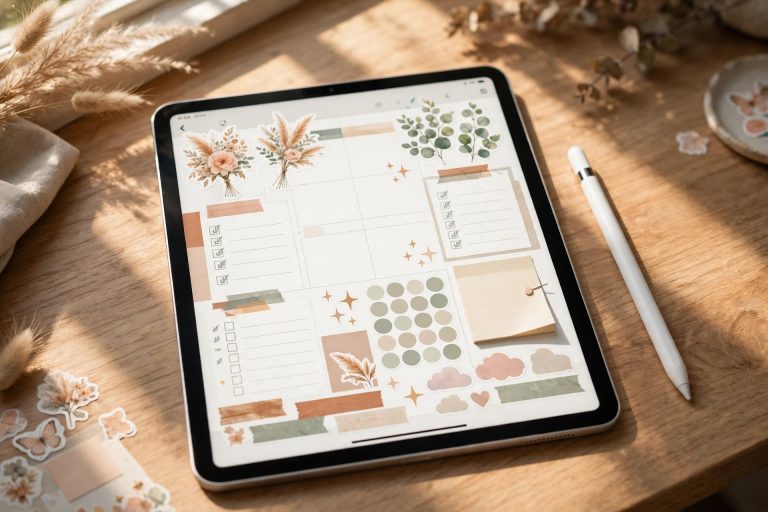
Questions about this guide?
Ask about the planner, share how you use it, or tell us what to cover next. Your email stays private.