
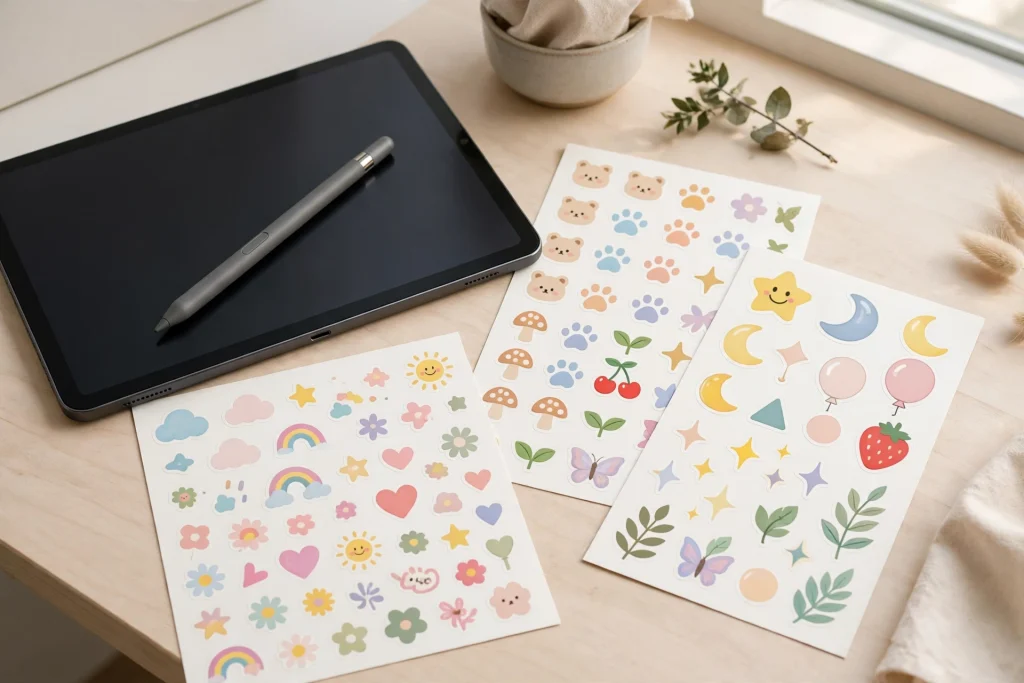
Quick answer: There are three ways to get stickers into GoodNotes: use the Elements tool to build collections from individual files or photos, import a whole .collection file at once, or import a sticker-book PDF and copy stickers from it onto your planner pages. For bulk imports, send many PNGs to Photos at once and add them to Elements in one batch, or drag them from Files in split-screen. Once imported, tap a sticker to place it, resize by its corner handles, rotate by the circular handle, and layer it with Edit.
Stickers are the fastest way to make a digital planner readable at a glance — a coloured dot for a deadline, a star for a milestone, an icon for a habit. But many GoodNotes users buy a sticker pack and then stall at the first step: the files sit in Downloads, and the planner stays undecorated. This guide covers every way to import GoodNotes stickers, how to organise them with Elements, how to build a sticker book, and how to fix the problems that come up most often.
The three ways stickers get into GoodNotes
1. Elements tool: build a collection from files or photos
The Elements tool is GoodNotes’ sticker system. Tap the star icon in the toolbar, tap the plus button to create a collection, choose Import from, pick your sticker file, and name the collection. Repeat for each pack, or — better — import a whole folder’s worth of stickers into one named collection, such as “Weekly icons” or “Habit trackers”. A collection is just a folder of stickers you can open from any document, so naming it well now saves hunting later.
To use a sticker, tap the Elements tool, pick the collection, and tap the sticker to place it on the page. That is the whole interaction for everyday use; everything else in this guide is setup and refinement.
2. Import a .collection file: a whole pack at once
Many sticker sellers provide a .collection file, which is a ready-made Elements collection. Importing it works the same way — Elements, plus, Import from, pick the .collection file — but it brings the entire pack in at once, already organised, with no file-by-file work. If a seller offers both loose PNGs and a .collection file, take the .collection file every time; it is the same stickers with the organising already done.
3. Sticker-book PDF: import the book, copy stickers from it
The third route is a sticker-book PDF: a document full of sticker pages that you import into your GoodNotes library like any other PDF. To use a sticker, open the book, lasso or copy the sticker you want, and paste it onto your planner page. This works in GoodNotes, where the lasso and copy tools are built for exactly this; other apps that cannot copy between documents should use the individual PNGs instead. A sticker book is also the easiest format to browse — you can see a whole pack at a glance, like flipping through a physical sticker album.
Bulk import: stop importing PNGs one by one
The single biggest time-waster in sticker setup is importing PNGs one at a time through Import from. Two faster routes exist. First, the Photos route: in the Files app, select all the sticker PNGs, share or save them to Photos, then in GoodNotes open Elements, tap plus, choose Add Photos, and bulk-select the stickers into a new collection. Second, the drag route: open Files in split-screen beside GoodNotes, select the stickers, and drag them straight into a new Elements collection. Both routes turn a thirty-minute chore into a two-minute job, and they are the difference between a sticker collection you actually build and one you keep meaning to build.
Using stickers once they are imported
Placing a sticker is simple; placing it well takes a few more moves worth learning:
- Resize: drag the corner handles to scale a sticker without distorting it. Keep functional stickers — deadline dots, habit icons — small and consistent, so they read as a system rather than decoration.
- Rotate: drag the circular handle to angle a sticker, useful for washi tape, arrows and handwritten-style accents.
- Layer: use Edit to bring a sticker to the front or send it behind another element, so stickers can sit neatly over planner boxes without hiding text.
- Recolour: where supported, use the lasso tool to select a sticker and recolour it, which lets one black-and-white icon serve many colour-coded subjects.
A good rule of thumb: stickers should make a page faster to read, not slower. If a spread needs a legend to understand, it has too many stickers; if a week’s deadlines jump out in colour, it has exactly enough.
Stickers bought in the GoodNotes Marketplace
Stickers bought in-app through the GoodNotes Marketplace skip the import step entirely. After purchase, the pack downloads into your Elements collections automatically — you will see a grey loading circle, then an “Elements installed” pop-up — and the stickers are ready to use from the Elements tool immediately. This is the simplest route of all, and it is worth knowing when you are choosing between a Marketplace pack and a third-party download: the Marketplace costs the import step, the download costs a few minutes of setup.
Making a sticker tappable: the invisible-link workaround
Stickers themselves cannot carry a hyperlink in GoodNotes — a tap on an image does nothing. The workaround, covered in detail in our guide to linking your planner, notebook and sticker book in GoodNotes 6, is to draw an invisible text box over the sticker and link that box to the target page. The sticker stays visible, the box stays invisible, and tapping the sticker jumps to the linked page. It is a workaround, not a native feature, so keep it for the handful of stickers you actually navigate from — section tabs, index icons — rather than linking every decoration.
If links stop working after you move pages around, the troubleshooting steps in GoodNotes hyperlinks not working: 7 fixes cover the usual causes, including links pointing at pages that have since been deleted or reordered.
Troubleshooting common sticker problems
Stickers import with a white background
True sticker PNGs have transparent backgrounds. If yours arrive with white boxes, the files are probably JPGs or flattened PNGs, not transparent stickers — ask the seller for transparent PNGs, or trim the white with the lasso tool, which is slow and best avoided by getting the right files.
Elements collection is empty after import
Check that you imported into a named collection and not into a half-finished new one, and that the files were sticker images rather than a ZIP archive — GoodNotes cannot import a ZIP directly, so unzip it in Files first, then import the PNGs or .collection file inside.
Stickers look blurry when resized larger
Small PNGs blur when enlarged. Keep stickers near their original size, and prefer packs supplied at high resolution if you like large decorative stickers. Functional icons at small sizes rarely show this problem.
Stickers from the sticker book will not paste
Make sure you copied, not just selected, the sticker in the book, and that you are pasting into an editable planner page rather than a locked template layer. If the paste option is greyed out, re-select with the lasso tool and copy again.
Frequently asked questions
What is the difference between Elements and a sticker book?
Elements is GoodNotes’ built-in sticker library: collections you open from the star icon in any document. A sticker book is a PDF document full of sticker pages that you copy from. Elements is faster for everyday use; a sticker book is easier to browse as a whole pack.
Can I use the same stickers in other apps?
The individual PNGs, yes — they are ordinary image files. The .collection format and Elements organisation are GoodNotes-specific, so other apps need the PNGs, not the collection file.
Do I need to pay for stickers?
No. Many free packs exist, and GoodNotes includes some built-in elements. Paid packs usually offer larger, better-organised sets with .collection files, which saves setup time — that convenience, rather than the stickers themselves, is often what you are paying for.
How many stickers is too many?
If a page takes longer to read with stickers than without them, it has too many. Use stickers as a visual code — colour for subject, icon for type — and keep the code small enough to remember.
Import one pack properly today — a .collection file if you have one, or a bulk Photos import if you have loose PNGs — and your planner gets faster to read from the very next week. If you are new to GoodNotes planners generally, start with our beginner’s guide, then build your sticker system on top of a planner you already use, like the 2027 Life Planner.
For official GoodNotes help with Elements, see GoodNotes Support.
Temply Studio
Stop chasing your goals with sticky notes and scattered notebooks. Our premium digital planners and Canva templates are designed to help you plan with intention, stay consistent, and actually enjoy the process.
Questions about this guide?
Ask about the planner, share how you use it, or tell us what to cover next. Your email stays private.