
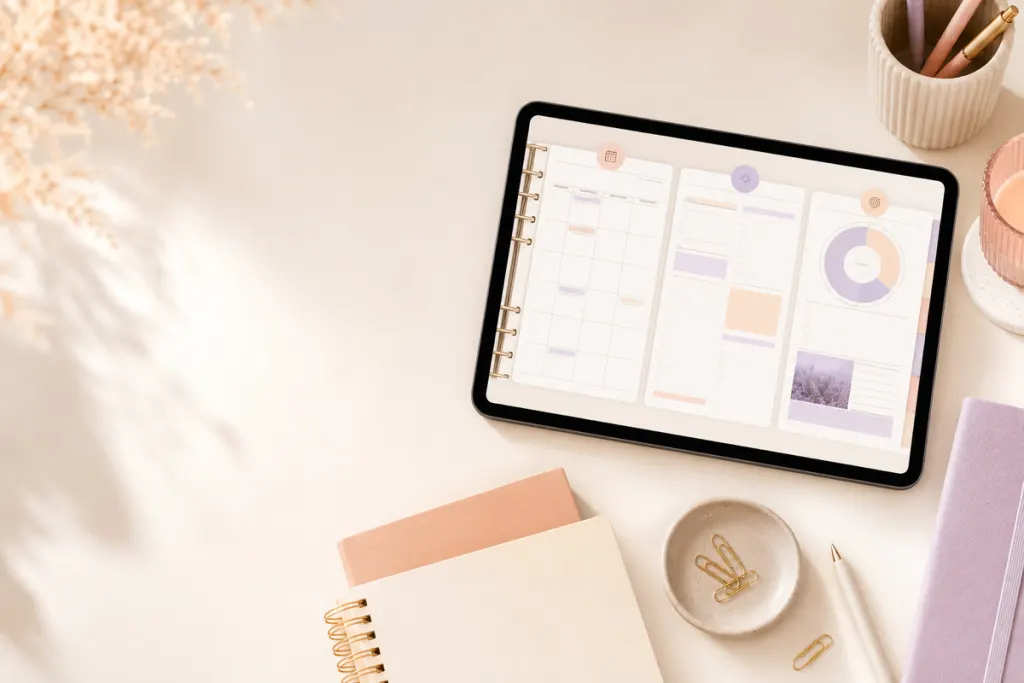
Quick answer: To annotate a PDF planner on iPad, keep the original PDF, import a working copy into a compatible annotation app, test the planner’s navigation, then use writing, highlighting, text, image, or selection tools according to the app’s current interface. Save or back up the working document before making large changes.
This guide uses Goodnotes as the main example because its current documentation covers PDF import and annotation tools. Exact buttons and features can change by app version, so treat the current app documentation as the source of truth.
1. Keep the original PDF before importing
Store the download in Files, cloud storage, or another location you can identify later. Rename it if needed, but do not use the only original copy as your experimental working file. A clean source makes recovery much easier.
2. Import the PDF as a working document
Goodnotes currently documents importing PDF files from within the Library, from external apps, or through drag and drop on iOS. If you need the full import sequence, use the Goodnotes planner import guide.
After import, give the working document a clear name so it cannot be confused with the source file.
3. Test navigation before writing
If the planner is supposed to be hyperlinked, test one month tab, one index link, and another known destination before adding a large amount of handwriting. A visual tab does not prove that a PDF contains a live hyperlink.
If links do not respond, review how to use hyperlinks in a Goodnotes planner before assuming the PDF is defective.
4. Choose a simple writing setup
Goodnotes documents the Pen tool as a core writing tool and allows color, style, and thickness adjustments. Start with one or two pen presets instead of building a large color system before you know what you need.
A simple setup might use:
- one dark pen for normal writing;
- one accent pen for important notes;
- one highlighter color for review items;
- text only where handwriting would be difficult to read.
The goal is legibility and easy editing, not a maximum number of tools.
5. Use highlighting for decisions, not decoration
Goodnotes has a Highlighter tool for marking content, including PDF text in supported workflows. Create a small meaning system such as “yellow = review” and “one accent = deadline.” If every color has a different meaning, the planner can become harder to scan.
6. Separate planner structure from your annotations
The PDF background, printed labels, and embedded links belong to the imported planner. Your handwriting, highlighting, text boxes, images, or stickers are added on top in the annotation app. That distinction matters when erasing or exporting.
For example, an eraser can remove supported annotation strokes, but it does not necessarily remove text or graphics that are already part of the PDF background.
7. Use selection tools when moving your own content
Goodnotes documents the Lasso tool for selecting supported handwriting, images, text boxes, and other added content so you can move, resize, copy, or edit it. Use selection rather than repeatedly erasing and rewriting when you simply need to reposition an annotation.
8. Add images only when they help the plan
Photos, reference images, or stickers can be useful for a project, meal plan, mood board, or visual reminder. Keep them proportional to the planning task. Very large image libraries can make a planner harder to navigate and can increase the amount of content the app must manage.
9. Create a consistent daily or weekly notation
A small notation system reduces the need for many separate trackers. For example:
- checkbox = action;
- dot = note;
- star = important decision;
- arrow = moved to another day;
- highlight = needs review.
Use symbols only if you can remember them without consulting a legend constantly.
10. Review page density
Zoom out occasionally and look at the whole page. If annotations cover the planner labels or navigation areas, reduce the amount of text, move detailed notes to a separate page, or use a linked notes section if the planner provides one.
11. Back up before structural changes
Before duplicating many pages, moving large sections, or exporting the whole planner, make sure you have a recoverable copy. The backup and file organization guide explains a practical separation between source, working document, backup, and export.
12. Export only for a clear purpose
Export a page or document when you need a shareable or printable copy. Do not assume an exported PDF is identical to the live working document. Test the output, especially if you need hyperlinks, annotations, or page order to behave in a particular way. See the Goodnotes PDF export guide for a verification workflow.
A practical first-session checklist
- Save the untouched source PDF.
- Import a working copy.
- Rename the working document.
- Test two or three known hyperlinks.
- Choose one pen and one highlighter preset.
- Annotate one weekly or daily page.
- Test erasing or moving one annotation.
- Close and reopen the document.
- Confirm the page still appears as expected.
- Create a backup before expanding the workflow.
Common annotation problems
The pen writes when I am trying to open a link
Change to the app’s navigation or read-only interaction method, or use the documented link-opening gesture for your platform.
I cannot erase part of the planner design
The design may be part of the underlying PDF rather than an annotation you added.
My page is becoming hard to read
Move detailed notes to another page and keep the planning view focused on decisions, dates, and next actions.
My exported planner behaves differently
Open the exported file in its intended viewer and test the pages, annotations, and links you need before sharing or archiving it.
Frequently asked questions
Do I need an Apple Pencil?
No. Goodnotes supports writing with a finger and other input methods, although the experience and precision can differ by device and tool.
Can I highlight PDF text?
Goodnotes documents highlighting PDF text as one supported workflow. The exact behavior depends on the PDF and current app interface.
Can I edit the printed text inside a PDF planner?
Usually the imported PDF content is the document background rather than editable source text. Editability depends on the file and software, not simply on the fact that it is a planner.
Official sources
- Goodnotes: Import files
- Goodnotes: Pen tool
- Goodnotes: Highlighter tool
- Goodnotes: Select, move and edit content
Choose a planner only after checking the workflow
Browse the Temply Studio digital planner collection only after verifying the exact file format, navigation, software requirements, delivery, and license for the product you are considering.
Protect navigation areas from accidental annotations
If the planner has edge tabs or small linked controls, avoid writing directly over those areas until you know how the app handles taps and handwriting there. Keep dense notes inside the main writing area or on dedicated notes pages.
Create a small annotation legend
If you use colors or symbols, write the legend once in a notes or index area. Keep it limited to meanings you use repeatedly. For example, one color can mark deadlines, one can mark review items, and one symbol can indicate a task moved to another date.
Use text boxes for information that changes often
Typed text can be easier to revise than handwriting for addresses, project names, meeting links, or recurring labels. Use it when editability matters, but avoid covering interactive tabs or creating dense text blocks that make the planner harder to scan.
Test one duplicated page before duplicating many
If your workflow depends on copying a blank page, duplicate one page, annotate it lightly, and test its navigation or page order. Confirm the result before creating dozens of copies. This keeps any structural mistake small and reversible.
Review the planner at normal zoom
A page can look clean while zoomed in but become visually crowded at normal viewing size. Periodically return to the full-page view and check whether dates, priorities, and navigation remain easy to see.
Keep one blank test page
Preserve a blank page or duplicate used only for testing pens, highlighters, text, images, and selection behavior. A test page lets you adjust tools without cluttering a real weekly or daily plan and gives you a quick place to confirm that annotation controls still behave as expected after app changes.
Final quality check
Before relying on the workflow, reopen the file or page and verify the result in the context where it will actually be used. Confirm labels, links, dates, filenames, layout, and any output that matters. Keep the source copy separate so a failed experiment remains reversible.
Temply Studio
Stop chasing your goals with sticky notes and scattered notebooks. Our premium digital planners and Canva templates are designed to help you plan with intention, stay consistent, and actually enjoy the process.


Questions about this guide?
Ask about the planner, share how you use it, or tell us what to cover next. Your email stays private.