
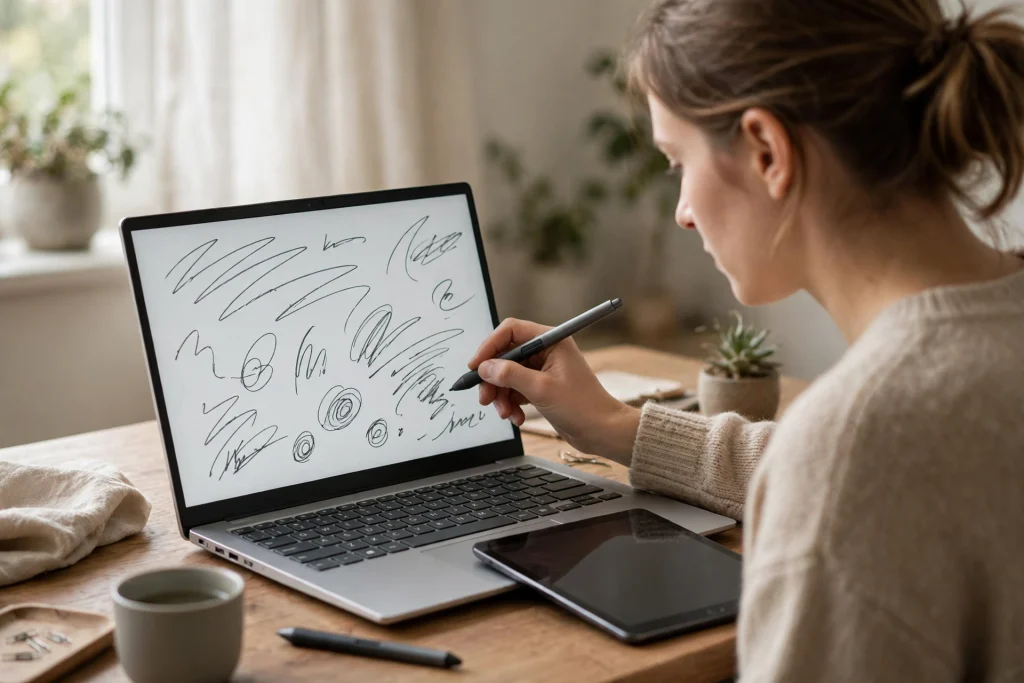
Quick answer: To learn how to use GoodNotes on Windows, install the free GoodNotes app from the Microsoft Store on Windows 10 (version 1809 or later) or Windows 11, sign in, and create your first notebook. You can write with a pen on a pen-enabled PC, or type and use a mouse or touchpad on a regular laptop. To sync with an iPad or iPhone, you need Goodnotes Cloud, which comes with a Goodnotes Pro plan — iCloud sync alone will not reach Windows.
If you have a Windows PC and you have been watching iPad users plan in GoodNotes, you may have wondered whether the same app works for you. This guide explains how to use GoodNotes on Windows, from installing it to syncing it with your other devices. You do not need an iPad, and you do not need to buy anything to get started — the free version is enough to try the app properly and set up a planner.
The Windows version is not identical to the iPad version, though: some features are missing, sync works differently, and writing with a mouse is very different from writing with an Apple Pencil. By the end of this guide, you will know how to install GoodNotes, create your first notebook, import a PDF planner, sync your library, and plan on a Windows PC.
What Is GoodNotes on Windows?
GoodNotes on Windows is the Windows version of the popular note-taking and planning app. It lets you create notebooks, write and type notes, annotate PDF files, and use a digital planner in GoodNotes — all on a Windows 10 or Windows 11 PC. It is free from the Microsoft Store, and works on Windows 10 version 1809 (build 17763) or later, as well as on Windows 11.
The idea is the same as on iPad: instead of paper notebooks, you keep notes and plans in digital notebooks you can search, reorganise, and back up — one for daily planning, one for work notes, one for study. Because the app runs on your PC, your notes sit alongside your calendar, email, and documents.
GoodNotes is also available on the web at web.goodnotes.com, useful when the Store is blocked on a work or school computer. The Windows and Android apps are online-first, so they work best with an internet connection.
How to Use GoodNotes on Windows: Install It from the Microsoft Store
There is no installer download from the GoodNotes website — installation goes through the Store listing.
- Open the Microsoft Store. Click the Store icon on your taskbar, or press the Windows key and type “Microsoft Store”.
- Search for GoodNotes. Open the official GoodNotes listing, checking that the publisher is GoodNotes, so you install the genuine app.
- Click Get or Install. The app is free. Wait for the download to finish — usually a minute or two.
- Open GoodNotes. Click Open in the Store, or find GoodNotes in your Start menu.
- Sign in or create an account. Choose a sign-in method and stick with it. This matters more than it sounds, and we explain why in the sync section below.
- Check for updates. In the Store, open your library and make sure GoodNotes is up to date before you build notebooks you rely on.
If the Microsoft Store is blocked on your computer, use GoodNotes on the web at web.goodnotes.com instead — sign in with the same account and work in your browser. If you can install the app, though, the installed version is smoother for daily planning.
What the Free Plan Includes — and What Costs Extra
The free plan gives you 3 notebooks, 3 text documents, and 3 whiteboards. Imported files are limited to 5 MB, and audio recording to 20 minutes. That is enough to try the app properly: one notebook for planning, one for notes, and one spare.
If you need more, there are paid plans. Essential costs $11.99 per year, and Pro costs $35.99 per year, with prices as of late 2026 — check the Store listing for current pricing before you buy. The most important difference for Windows users is that Goodnotes Cloud, the sync service that connects your Windows library with an iPad, iPhone, or Mac, comes with a Goodnotes Pro plan.
First Setup: Create Your First Notebook
Once GoodNotes is installed, create a notebook and get comfortable with it. Do not try to build a perfect planning system on day one — make one simple notebook, use it for a few days, and then decide what to change.
- Create a new notebook. From the library view, create a new notebook and give it a clear name, such as “Daily Planner” or “Work Notes”.
- Choose a paper style. Pick lined, dotted, grid, or blank paper: lined for written notes, blank or dotted for planning layouts and sketches.
- Add your first page. Open the notebook, add a page, and jot down tomorrow’s top three tasks. The point is to use it, not to decorate it.
- Try the pen and the typing tools. If you have a pen-enabled PC, try writing a few lines by hand. On a regular laptop, try typing instead, and see which input method feels natural.
- Organise from the start. Keep notebooks in folders by area of life — work, study, personal.
A good first notebook is a simple daily log: the date at the top, three priorities, and a short notes section. The 12-Tab Digital Notebook for GoodNotes is a good next step once you are comfortable with the basics, because its tabbed layout makes it easy to jump between sections on a PC, where clicking a tab with a mouse is quick and precise.
How to Import a PDF Planner into GoodNotes on Windows
Importing a PDF planner is how most people who learn how to use GoodNotes on Windows turn it from a note-taking app into a planning system. A PDF planner is a ready-made planner — with dated or undated pages, tabs, and hyperlinks — that you open inside GoodNotes and write on, just as you would write in a paper planner.
- Choose a planner PDF. Pick a planner designed for GoodNotes, with hyperlinked tabs for easy navigation, and within the free plan’s 5 MB limit for imported files.
- Import it into GoodNotes. Use the import option to bring the PDF into your library, where it appears as a new document you can open and write in.
- Test the links. Open the planner and click a tab link. It should jump to the right section — on a PC, a mouse click on a small tab can easily miss, so try again slowly if it does not work.
- Add your first entries. Go to today’s page, add your tasks and appointments, and try both typing and handwriting.
- Keep the original file safe. Store the original PDF somewhere safe on your PC or in cloud storage, so you can re-import it if anything goes wrong.
Hyperlinked planners work particularly well on Windows, because clicking a tab with a mouse is fast and accurate — you can jump from a monthly view to a daily page in seconds. The Minimalist Undated Digital Life Planner for GoodNotes is a good fit here: because it is undated, you can start it on any day of the year without wasting pages. Remember that on Windows you can import PDF and image templates, so you can bring in your own page designs as well as ready-made planners.
Handwriting vs Typing on Windows
The biggest practical difference when you learn how to use GoodNotes on Windows is how you put words on the page. On an iPad with an Apple Pencil, handwriting feels natural. On Windows, it depends entirely on your hardware.
A pen works straight away on Surface and other pen-enabled PCs. If your laptop or tablet has an active pen, you can write directly on the screen, and the experience is close to writing on paper.
On a normal laptop without a pen, you write with a mouse, touch, or touchpad — or you type. Writing with a mouse is slow and rarely looks neat, so most Windows users without a pen end up typing most of their entries, and that is perfectly fine: typing is faster for lists and appointments, and typed text stays easy to edit. You can also mix the two — type your main entries, and use the mouse or touchpad to circle something or highlight a priority.
On a touchscreen laptop, touch input gives you a middle ground: tap tabs easily, scroll with a finger, and write short notes with your fingertip. It will not feel like a pen on paper, but it is more direct than a mouse.
Do not buy a pen just for GoodNotes until you know you will use the app every day. Try typing first — many Windows planners type everything and never miss handwriting at all.
Syncing GoodNotes on Windows with iPad and Android
Sync causes the most confusion, so understand it before you build a library you depend on.
iCloud sync works only between Apple devices and cannot sync to Windows. If your notes live in iCloud on your iPad, they will not appear on your Windows PC. To sync an iPad, iPhone, or Mac library with Windows, you need Goodnotes Cloud, which comes with a Goodnotes Pro plan. Goodnotes Cloud is the bridge between Apple devices and Windows — and Android, too — so if you use GoodNotes on more than one platform, Pro is the plan that makes it work.
One more detail trips people up: sign in with the same sign-in method on every device. Apple, Google, and Microsoft sign-ins can be separate GoodNotes accounts even with the same email address. Sign in with Apple on your iPad and Google on Windows, and you may end up with two different accounts that never sync. Pick one method — for example, Google — and use it everywhere.
To set up sync between Windows and an iPad, follow these steps:
- Upgrade to Goodnotes Pro on the account you want to use everywhere, so Goodnotes Cloud is available.
- Sign in with the same method on your Windows PC, your iPad, and any Android device — double-check the account shown is the same on each device.
- Turn on Goodnotes Cloud sync and let the first sync finish while you are online — it can take a while with a large library, so leave the app open and connected.
- Test it. Add a short note on your iPad, wait a moment, then check whether it appears on Windows. Then try the reverse. If both directions work, your sync is set up.
If you only use GoodNotes on Windows, you do not need any of this — your notes live in your Windows library, and you can back them up by exporting them as PDF.
What Works Differently on Windows vs iPad
If you are learning how to use GoodNotes on Windows, know that it covers the core note-taking and planning features, but it is not a copy of the iPad app. Knowing the differences in advance will save you from searching for a feature that simply is not there.
First, some features are not available on Windows — and also not on Android or the web. Time Keeper and Study Sets fall into this group, so if you were planning to use them, try a simple timer app alongside GoodNotes, or a notebook set up for study notes.
Second, creating custom template sizes or themes is Apple-only. On Windows you can import PDF and image templates, but you cannot create a new custom template size or theme inside the app.
Third, custom templates, custom elements, and Marketplace stickers can look or behave differently across platforms. A sticker that looks perfect on an iPad may render slightly differently on Windows, so test a new sticker pack on Windows before you build a planning layout around it.
None of these limits makes GoodNotes on Windows a bad choice — the Windows app is simply a leaner version, focused on writing, typing, annotating PDFs, and planning. If you need Time Keeper, Study Sets, or custom template creation inside the app, the iPad version is the one that has them.
Practical Tips for Planning on a PC
Once you know how to use GoodNotes on Windows, a few PC habits will help you get the most out of it.
Use split-screen and keyboard shortcuts. Put GoodNotes on one side of your screen and your calendar, email, or task list on the other, so you can read an appointment and type it straight into your planner without switching windows. Use the standard Windows habits you already know — copy, paste, undo, and switching windows — wherever the app supports them.
Export and back up as PDF. Your planner is only as safe as your latest backup. Export important notebooks as PDF files regularly and keep those exports in a folder you back up, on an external drive or in cloud storage. A PDF export is also the easiest way to share a page with someone who does not use GoodNotes.
Keep your library tidy, and plan at the same time each day. Give each notebook a clear name and put it in the right folder as soon as you create it. Then pick a time — first thing in the morning, or the evening before — and spend five minutes reviewing tomorrow: check your appointments, write down your top three priorities, and close it.
Frequently Asked Questions
Can I use GoodNotes on Windows without an iPad?
Yes. You can use GoodNotes on Windows without owning an iPad — install it from the Microsoft Store, create an account, and use it on your PC. An iPad only matters if you want to sync the same library between an iPad and Windows, which needs Goodnotes Cloud with a Goodnotes Pro plan.
Is GoodNotes free on Windows?
Yes, GoodNotes for Windows is a free app from the Microsoft Store. The free plan includes 3 notebooks, 3 text documents, and 3 whiteboards, with imported files limited to 5 MB and audio recording limited to 20 minutes. Paid plans are available if you need more: Essential is $11.99 per year and Pro is $35.99 per year, as of late 2026 — check the Store listing for current pricing.
How do I sync GoodNotes from my iPad to Windows?
You need Goodnotes Cloud, which comes with a Goodnotes Pro plan, because iCloud sync works only between Apple devices and cannot sync to Windows. Sign in with the same sign-in method on every device — Apple, Google, and Microsoft sign-ins can be separate accounts even with the same email — then turn on Goodnotes Cloud sync and let the first sync finish while you are online.
Can I handwrite in GoodNotes on Windows?
Yes, if your PC supports it. A pen works straight away on Surface and other pen-enabled PCs, so you can write directly on the screen. On a normal laptop without a pen, you write with a mouse, touch, or touchpad, or you type — and most Windows users without a pen find typing faster and neater. You can also mix typing with mouse or touch for circling and highlighting.
Start Planning on Your Windows PC
Learning how to use GoodNotes on Windows is mostly a matter of installing the app, making one notebook, and using it for a few days. The free plan is enough to learn the ropes, a PDF planner turns the app into a real planning system, and Goodnotes Cloud with a Pro plan connects your library to an iPad or Android device when you need it. Keep the limits in mind — no iCloud sync to Windows, no Time Keeper or Study Sets, and no custom template creation on Windows.
If you are ready to set up a planner, the 2027 Life Planner is a great place to start: import it into GoodNotes on your Windows PC and try it for a week. Your next year of plans can start on the computer you already use every day.
Temply Studio
Stop chasing your goals with sticky notes and scattered notebooks. Our premium digital planners and Canva templates are designed to help you plan with intention, stay consistent, and actually enjoy the process.


Questions about this guide?
Ask about the planner, share how you use it, or tell us what to cover next. Your email stays private.