
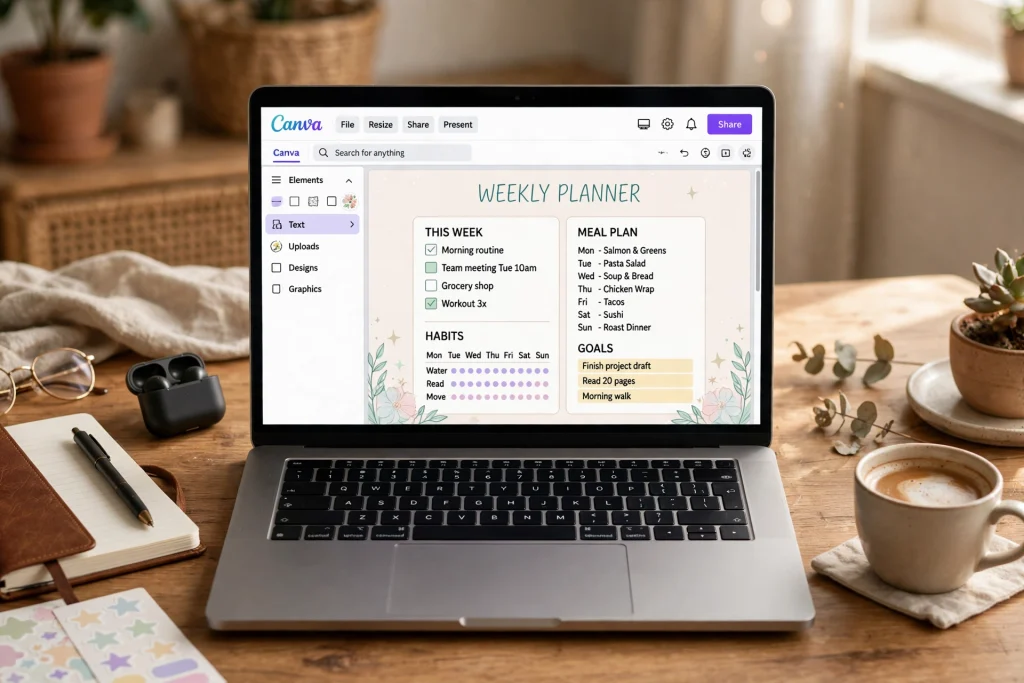
Quick answer: To make your own digital planner in Canva, create a custom-size design (2048 × 2732 px for full-screen iPad use), design your cover, monthly, weekly, and daily pages, add hyperlinked tabs with Canva’s link tool, export as PDF Standard, import the file into GoodNotes, and test every link in Read-Only mode before you start planning.
Learning how to make your own digital planner in Canva is one of the most satisfying projects for a digital planning fan. Instead of adapting to someone else’s layout, you decide exactly which pages exist, how big the writing space is, and where every tab jumps. The good news: you don’t need design training or paid software. Canva’s free plan plus GoodNotes is enough to build a fully hyperlinked planner you can actually use every day.
This guide walks you through the complete workflow — page size, page design, hyperlinks, export settings, and a testing checklist for GoodNotes — plus the mistakes that most commonly break DIY planners. If you’d rather skip the build and start planning today, an editable Light Grey Digital Planner Canva Template gives you the same Canva-editable starting point without the blank-page work.
What you need before you start
You need less than you think. Here’s the short shopping list:
- Canva (free is fine). Canva Pro adds brand kits and background remover, but neither is required to make your own digital planner. The free plan exports PDFs with working hyperlinks.
- The right page size. For a full-screen iPad planner in GoodNotes, create a custom design at 2048 × 2732 pixels (portrait). This matches the iPad Pro display ratio, so pages fill the screen without awkward margins. If you prefer standard paper, 8.5 × 11 in (US Letter) also works and prints cleanly.
- GoodNotes 6 (or GoodNotes 5) on your iPad, iPhone, or Mac for testing.
- A page plan. Decide your page lineup before designing: cover, yearly overview, 12 monthly pages, weekly spreads, daily pages, plus extras like goals, habit trackers, and notes. A 60–120 page planner is the sweet spot — big enough to feel complete, small enough to stay fast in GoodNotes.
If you’re new to GoodNotes planners in general, read our beginner’s guide to using a digital planner in GoodNotes first — it covers the import basics this tutorial builds on.
How to make your own digital planner in Canva: the 8-step workflow
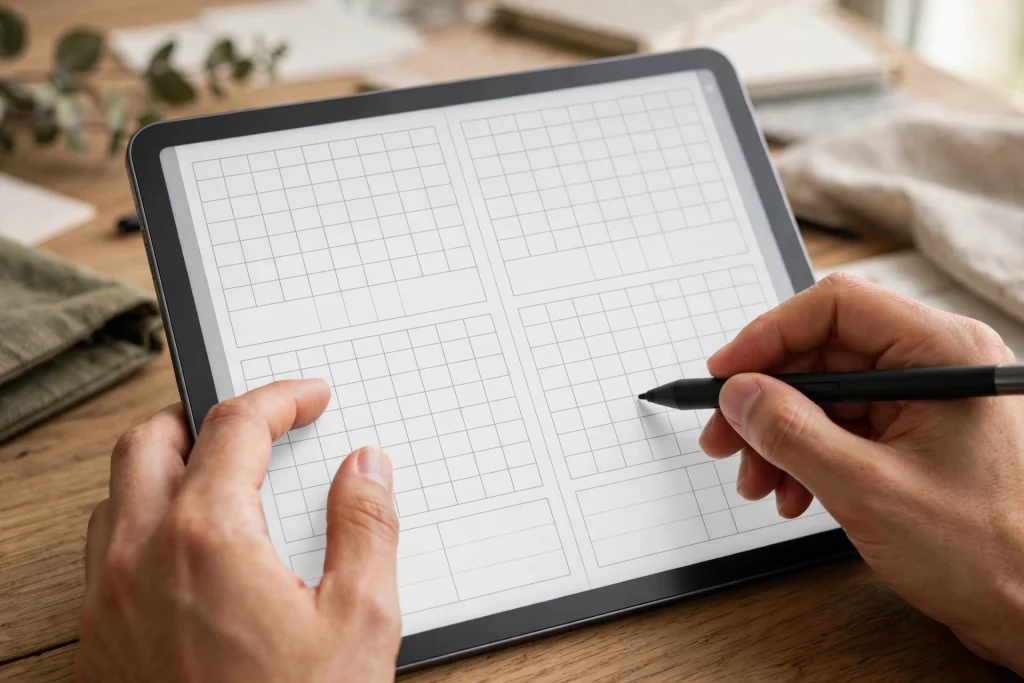
Step 1 — Create a custom-size design
In Canva, click Create a design → Custom size and enter 2048 × 2732 px. Name the project clearly (e.g., “My 2027 Planner”) so you can find it later. Set the page background to white or a very light neutral — dark backgrounds drain the iPad battery faster and make handwriting harder to read.
Step 2 — Design the cover
Your cover sets the tone. Keep it simple: a title, the year, and one visual element. Use Canva’s text tools for the title — avoid flattening text into images where possible, because selectable text keeps the exported PDF searchable. Pro tip: design the cover last if you’re indecisive; it’s the page you’ll judge most harshly.
Step 3 — Build the monthly pages
Create one monthly spread per month: a calendar grid on one page and a notes/goals page facing it. In Canva, build the first month carefully, then duplicate the page 11 times and change the dates. Use tables or grids for the calendar — consistent cell sizes make handwriting with the Apple Pencil far more comfortable. Leave generous margins; cramped cells are the number one complaint about DIY planners.
Step 4 — Build weekly and daily pages
Design one weekly layout (seven day columns or a vertical list with time blocks) and one daily layout (schedule, top-3 priorities, notes section). Duplicate them as needed. A practical structure for a full year: 12 monthly spreads + 52 weekly pages + daily pages only for workdays, or undated dailies you duplicate on demand. Undated pages are the smarter choice — they never expire and keep the file size down.
Step 5 — Add navigation tabs
Tabs are what make a planner feel professional. Add a vertical tab bar along the right edge of your pages with labels like JAN–DEC, WEEK, DAY, GOALS, NOTES. Make each tab at least 120 × 120 px — smaller tap targets are frustrating with a fingertip. Use Canva’s Position tool to lock tab placement so every page aligns identically; misaligned tabs are instantly noticeable in GoodNotes.
Step 6 — Add hyperlinks in Canva
This is the step most tutorials rush. Select a tab, click the link icon in the Canva toolbar, choose link to a page in this design, and pick the destination page. Repeat for every tab — yes, all of them, on every page that carries tabs. Tedious, but this is literally what turns a PDF into a planner. Double-check the monthly tabs especially: linking JAN to the February page is the classic DIY error.
Step 7 — Export as PDF Standard
Go to Share → Download → PDF Standard. Do not choose “PDF Print” with flattening, and do not export as images — both destroy hyperlinks. PDF Standard preserves the page-to-page links you added in Step 6. If your file is very large, remove unused pages before exporting rather than compressing aggressively.
Step 8 — Import into GoodNotes and organize
In GoodNotes, tap New → Import and select your PDF, or share it from the Files app with Open in GoodNotes. Import as a new document, give it a clear title, and file it in a “Planners” folder. Open the document and confirm the page count matches your Canva design — a mismatch means the export dropped pages.
How to test your planner in GoodNotes before trusting it
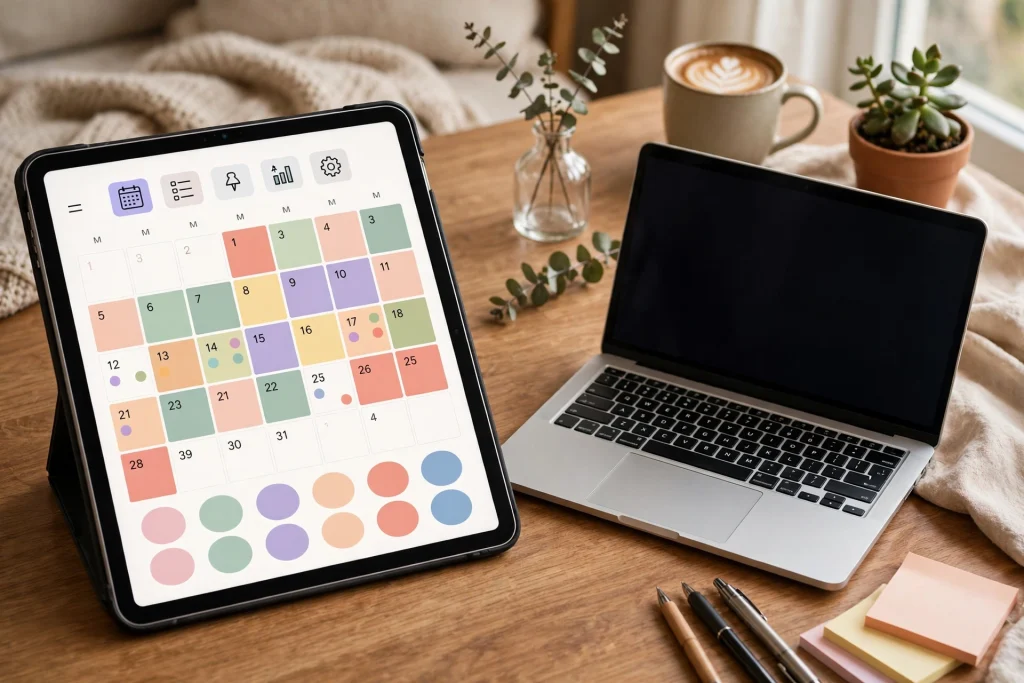
Never start writing in an untested planner. Run this five-minute check:
- Test every tab. On iOS, tap each tab; on Android, Windows, or Web, switch to Read-Only mode first, then tap. Every tab should land on the correct page.
- Test the index page. If you built a yearly or monthly index, tap each entry and confirm the destination.
- Write on three page types. Scribble on a monthly, a weekly, and a daily page to confirm the handwriting feel and that ink doesn’t lag.
- Check the export. Export one annotated page as PDF (Editable format) and open it in another app to confirm your writing survives.
- Back up the original. Keep the untouched Canva link and the clean PDF in cloud storage before you annotate the working copy.
If a tab doesn’t respond, the problem is almost always the navigation mode or a missing link in the source file — our guide on how to use hyperlinks in a GoodNotes planner walks through the diagnosis step by step.
5 mistakes that break DIY planners (and how to avoid them)
1. Exporting a flattened PDF. Flattening bakes everything into images and deletes every hyperlink. Always export PDF Standard and verify links in a desktop PDF reader before importing.
2. Wrong page dimensions. A 16:9 slide-sized planner looks tiny and letterboxed in GoodNotes. Stick to 2048 × 2732 px or US Letter.
3. Tiny tap targets. Tabs smaller than a fingertip cause constant mis-taps. Go big — 120 px minimum.
4. Overbuilding page one. Spending three hours perfecting the January page while December is a rough sketch guarantees an inconsistent planner. Build one clean template page per type, then duplicate.
5. No backup of the clean file. Annotate only a copy. Keep the pristine PDF and the Canva project untouched so you can restart a fresh year or fix a broken link without rebuilding.
DIY vs. buying a Canva planner template
Building from scratch teaches you the most, but it takes a full weekend. A middle path exists: start from an editable Canva planner template and customize it. You still learn the hyperlink and export workflow, but the page design, tab alignment, and date math are done for you.
The Light Grey Digital Planner Canva Template is built exactly for this — every page is editable in Canva, the hyperlinks are pre-linked, and you can recolor, rename, and rearrange before exporting your own PDF. If your planning is goal-driven rather than schedule-driven, the 5-Year Goal Planner Canva Template offers the same editable workflow aimed at long-term goals.
Either way, run the same GoodNotes test routine above on any template you customize. A template saves design time; it doesn’t replace verification.
Frequently asked questions
Can I make a hyperlinked digital planner with free Canva?
Yes. Page-to-page hyperlinks and PDF Standard export are both available on Canva’s free plan. You don’t need Pro unless you want premium stock elements, brand fonts, or the background remover for decorative graphics.
What size should my Canva planner pages be for GoodNotes?
Use 2048 × 2732 px (portrait) for a full-screen iPad experience in GoodNotes, or 8.5 × 11 in (US Letter) if you also want clean printing. Avoid 16:9 presentation sizes — they render small with empty margins.
Why don’t my Canva hyperlinks work in GoodNotes?
The three usual causes: the PDF was exported flattened (re-export as PDF Standard), the links were added to decorative elements instead of the tabs (re-link the actual tab shapes), or you’re tapping in Edit mode on a platform that needs Read-Only mode for link navigation.
How many pages should a DIY digital planner have?
Between 60 and 120 pages is ideal for personal use. Fewer feels thin; many more slows down GoodNotes and makes the export file unwieldy. Use undated daily and weekly pages you can duplicate instead of pre-building 365 dated pages.
Can I sell a planner I made in Canva?
Only if every element you used is licensed for commercial use. Canva’s free stock photos, icons, and fonts have mixed licenses — check each element’s license before selling. Many successful planner sellers design with Canva but replace stock elements with their own artwork for products they sell.
Start building — or start from a template
Get the editable Canva planner template with pre-linked hyperlinks, then make it yours in an afternoon instead of a weekend.
Browse the Canva Planner Template
Prefer finished planners? Explore the full shop →
Temply Studio
Stop chasing your goals with sticky notes and scattered notebooks. Our premium digital planners and Canva templates are designed to help you plan with intention, stay consistent, and actually enjoy the process.
Questions about this guide?
Ask about the planner, share how you use it, or tell us what to cover next. Your email stays private.