
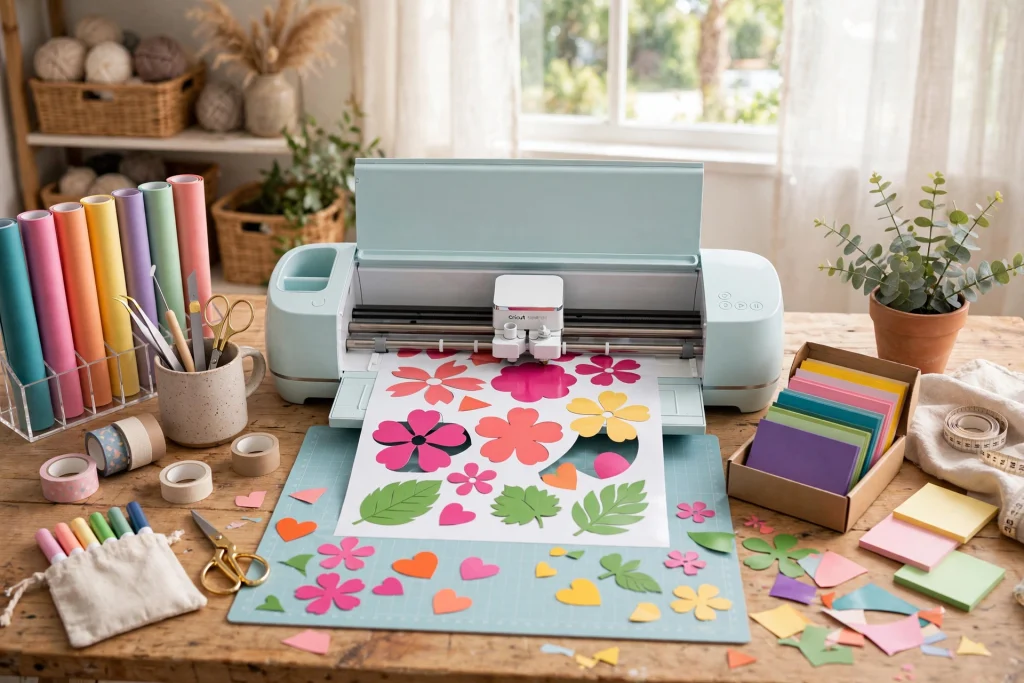
If you just bought a Cricut — or you’re thinking about it — you’ve probably already stumbled across the term “SVG file.” Nearly every design sold for Cricut crafts comes as an SVG, and learning how to use SVG files with Cricut is the single most important skill for turning your machine into a money-saving, gift-making, craft-room superstar. The good news? The process is simple once you’ve done it once, and this guide walks you through every step, from downloading your first file to pressing your first project.
What Is an SVG File (and Why Does Cricut Love It)?
SVG stands for Scalable Vector Graphic. Unlike a JPG or PNG, which is made of fixed pixels, an SVG is made of mathematical paths — lines and curves that your software can scale to any size without losing quality. That matters enormously for cutting machines: your Cricut needs clean, crisp edges to know exactly where to cut, and an SVG delivers them whether your design is one inch or twelve inches wide.
Here’s a quick comparison of file types you’ll see when you buy or download designs:
- SVG — The cutting file. Upload this to Cricut Design Space; it arrives as ready-to-cut layers.
- PNG — A raster image, often with a transparent background. Great for sublimation or print-then-cut, but not a true cut file.
- JPG — A flat raster image with no transparency. Design Space can convert it, but you’ll need to clean up the background manually.
- DXF — A cut file format mainly used for Silhouette machines. Some sellers include it as a bonus, but Cricut users should always upload the SVG.
- PDF — Usually a printable version of the design, handy as a reference sheet.
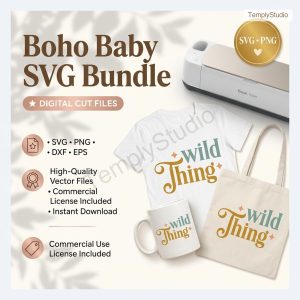
When you buy designs from a shop like Temply Studio’s SVG collection, you typically receive a ZIP folder containing all of these formats. You only need the SVG for Cricut — the rest are extras for other crafts.
Step 1: Download and Unzip Your SVG Files
Most SVG designs are delivered as a ZIP file, which keeps the download fast and bundles all the formats together. Design Space cannot read a ZIP directly, so you must extract it first.
On Windows
- Find the downloaded ZIP file (usually in your Downloads folder).
- Right-click it and choose “Extract All.”
- Pick a destination folder you’ll remember — like Documents > Cricut Designs — and click Extract.
- Open the new folder. You’ll see files ending in .svg — those are the ones you want.
On Mac
- Double-click the ZIP file in your Downloads folder.
- macOS automatically extracts it into a new folder with the same name.
- Open the folder and look for the .svg files.
On iPad or iPhone
- Tap the ZIP file in the Files app to extract it.
- The contents appear in the same folder. You can upload the SVG straight to the Design Space mobile app from here.
Pro tip: Create one master folder for all your cut files and sort them into subfolders by theme (holidays, teacher designs, sports, and so on). For example, a bundle like the Back-to-School SVG Bundle might contain dozens of designs — a dedicated folder keeps them easy to find when a project idea strikes.
Step 2: Upload Your SVG to Cricut Design Space
Once your files are unzipped, it’s time to bring the SVG into Design Space. The process takes about thirty seconds:
- Open Cricut Design Space (desktop or web) and sign in.
- Click “New Project” to open a blank canvas.
- Click “Upload” in the left-hand toolbar, then “Upload Image.”
- Click “Browse”, navigate to your extracted folder, and select the .svg file. (You can also drag and drop the file onto the upload window.)
- Design Space processes the SVG and shows a preview. Because it’s a vector file, there’s no background cleanup step — just click “Add to Canvas.”
- Your design appears on the canvas, already separated into its colored layers.
That’s the core of how to use SVG files with Cricut: unzip, upload, and cut. Everything from here is optional refinement.
Step 3: Resize, Group, and Attach Your Design
Before you hit “Make,” take a minute to prepare the design on the canvas. These three tools solve 90% of beginner layout headaches.
Resize
Click the design to select it, then drag the corner handle — or type exact dimensions into the Size fields in the top toolbar. Always resize before cutting: a design that looks right on screen might be tiny or huge relative to your blank (a shirt, mug, or sign). Measure your blank first, then size the design to fit.
Group
Multi-layer designs can be selected as separate pieces. Select all the layers and click Group to move them together while keeping their relative positions. Grouping doesn’t change how the machine cuts — it just makes editing easier.
Attach vs. Weld
This is where beginners get confused, so here’s the simple version:
- Attach holds layers in their current positions on the cutting mat. Use it when your design has multiple colors and you want everything cut exactly where it’s placed — for example, keeping lettering centered on a shape.
- Weld merges overlapping shapes into a single shape. Use it for script fonts or cursive text so the letters cut as one connected piece instead of individual letters with cut lines through them.
Golden rule: If your multi-color design suddenly scatters all over the mat preview, you forgot to Attach. Go back, select the layers, click Attach, and the preview snaps back into place.
Choosing the Right Material: Vinyl, Iron-On, or Cardstock
The SVG tells the machine what to cut; the material setting tells it how. Picking the right material is half the battle of a successful project.
Adhesive vinyl
The all-purpose choice for hard, smooth surfaces: mugs, tumblers, car decals, laptops, signs, and wall art. Permanent vinyl (like Oracal 651) survives weather and washing; removable vinyl (like Oracal 631) is for temporary decor you might want to peel off later. In Design Space, choose “Premium Vinyl” as your material setting.
Iron-on (heat transfer vinyl / HTV)
For fabric: t-shirts, onesies, tote bags, pillowcases, and aprons. The design is cut in reverse (mirrored) on the shiny carrier sheet, then pressed with heat. Always mirror your design for iron-on — Design Space will remind you, but double-check. Material setting: “Everyday Iron-On.”
Cardstock
For paper crafts: greeting cards, gift boxes, banners, cake toppers, and 3D projects. Use a LightGrip (blue) mat so the paper releases cleanly, and choose a cardstock weight your machine handles well (65–80 lb is the sweet spot for most Cricut models). Material setting: “Medium Cardstock.”
Quick material cheat sheet
- T-shirt or onesie → Iron-on (HTV), mirror ON
- Mug, tumbler, or car decal → Permanent adhesive vinyl, mirror OFF
- Wall quote or seasonal sign → Removable or permanent vinyl, mirror OFF
- Card or paper banner → Cardstock, LightGrip mat, mirror OFF
Your First Project Walkthrough: A Vinyl Decal
Let’s put it all together with the simplest possible first project: a single-color vinyl decal. Grab a design from the Back-to-School SVG Bundle — a teacher-themed quote is perfect — and follow along.
- Upload the SVG to Design Space and add it to your canvas (see Step 2).
- Resize the design to fit your surface — say, 4 inches wide for a tumbler.
- Attach the layers so nothing shifts on the mat.
- Click “Make”. Confirm your material size, then click Continue.
- Choose “Premium Vinyl” as the material. Load a StandardGrip (green) mat with vinyl placed shiny-side up.
- Load the mat into the machine and press the flashing Go button.
- When cutting finishes, unload the mat and weed the design — peel away the excess vinyl with a weeding tool, leaving your design on the backing.
- Apply transfer tape over the design, burnish it down with a scraper, peel off the backing, position the decal on your surface, burnish again, and slowly peel away the transfer tape.
Congratulations — that’s a finished Cricut project. Every future project follows the same rhythm: upload, prepare, cut, weed, apply.
Troubleshooting Common SVG Problems
Almost every beginner hits at least one of these. Here’s how to fix each one fast.
“My file won’t upload” / “Unsupported file type”
You almost certainly selected the ZIP file or a JPG instead of the SVG. Go back to your extracted folder and choose the file ending in .svg. Also check the file size — Design Space has upload limits, though most commercial SVGs are well under them. If the file came from a trustworthy shop and still won’t upload, try re-extracting the ZIP; downloads occasionally corrupt.
The design uploads at the wrong size
SVGs don’t carry a universal physical size, so Design Space sometimes imports them very large or very small. This is normal — just resize on the canvas before cutting. The design’s quality is unaffected because vectors scale infinitely. Measure your blank and type the exact dimensions into the Size fields for precision.
It uploaded as one flat image instead of cut layers
You uploaded a JPG or PNG, not the SVG. Raster images import as a single “print then cut” image. Delete it, upload the .svg version, and you’ll get proper separated cut layers. This is the #1 beginner mistake, and the fix takes ten seconds.
Letters cut separately instead of as one word
Script or cursive fonts need to be Welded after you arrange them. Select the text, click Weld, and overlapping letters merge into a single cut path. Do this before cutting, because you can’t unweld after the fact.
Vinyl won’t stick / iron-on won’t adhere
For vinyl: the surface probably has dust or oils — wipe it with rubbing alcohol and let it dry before applying. For iron-on: the usual culprits are not enough heat, not enough pressure, or peeling at the wrong temperature. Check the material manufacturer’s heat guide (time, temperature, warm vs. cold peel) and pre-press your fabric for 5 seconds to remove moisture.
Cuts are tearing or not cutting through
First, check your blade — a dull or dirty blade causes most cut quality issues. Clean it by stabbing it into a ball of aluminum foil a few times. Then verify your material setting matches what you loaded, and run a small test cut before committing to the full design. For intricate designs, a fresh Fine-Point Blade and the correct pressure setting make all the difference.
Tips for Building Your SVG Library
Once you know how to use SVG files with Cricut, you’ll want a stash of designs ready for every occasion. A few habits that pay off:
- Buy bundles over singles. A themed bundle (holidays, teacher designs, sports, family quotes) costs a fraction of buying designs one by one and covers you for months of projects.
- Check the license. Most commercial SVGs include a personal-use license; if you plan to sell finished shirts or decals, look for a commercial-use license or an extended license from the shop.
- Organize by project type. Keep separate folders for iron-on designs, vinyl decals, and cardstock projects — it saves frantic searching later.
- Keep your software updated. Design Space updates frequently, and newer versions handle SVG imports more reliably.
- Save your Canvas projects. After uploading and arranging a design, save the project in Design Space so you can re-cut it anytime without re-uploading.
Browsing a well-organized shop makes this easy — the SVG and cut-file collection at Temply Studio is sorted by theme, and every listing tells you exactly which file formats are included before you buy.
Frequently Asked Questions
Do I need Cricut Access to use SVG files?
No. You can upload your own SVG files to Design Space with a free account. Cricut Access is a subscription for Cricut’s own image library — it’s optional if you’re buying designs from independent shops.
Can I use SVG files with Cricut Joy or Cricut Joy Xtra?
Yes. The upload process is identical across all Cricut machines. Just keep the Joy’s smaller cutting width in mind (about 4.5 inches for the original Joy) and size your designs accordingly.
What’s the difference between SVG and PNG for Cricut?
An SVG is a true cut file — Design Space reads its paths and cuts along them in separated layers. A PNG is a flat image; Design Space treats it as a print-then-cut image, not a cut file. For vinyl, iron-on, and cardstock projects, always use the SVG.
Why is my SVG showing in black only?
The design’s color layers are probably fine — Design Space sometimes previews multi-layer SVGs in a single color on the canvas. Check the Layers panel: if the individual color layers are listed there, everything is correct. If you want the colors to cut in the right positions, select all layers and click Attach.
Ready to Start Cutting?
Now that you know how to use SVG files with Cricut — downloading, unzipping, uploading, preparing, cutting, and troubleshooting — the only thing left is to pick a design and make something. Start with a simple single-color decal to build confidence, then work your way up to layered iron-on shirts and paper crafts. Browse the SVG cut-file collection to find your first project, and happy crafting!
Temply Studio
Stop chasing your goals with sticky notes and scattered notebooks. Our premium digital planners and Canva templates are designed to help you plan with intention, stay consistent, and actually enjoy the process.
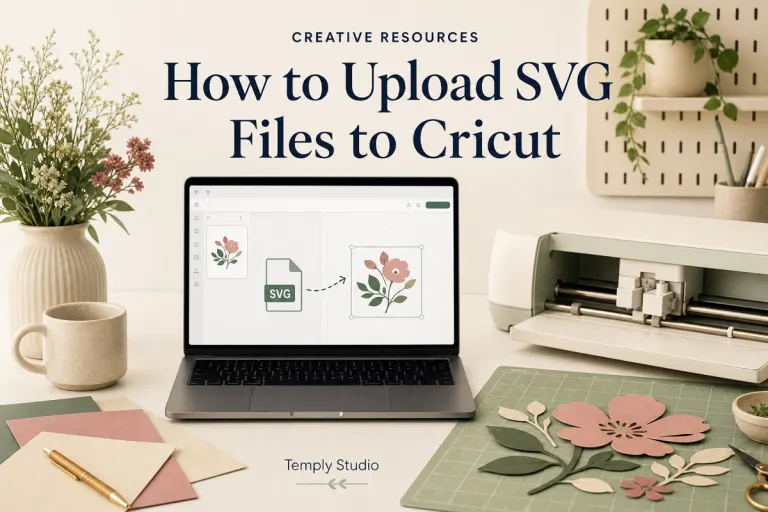
Questions about this guide?
Ask about the planner, share how you use it, or tell us what to cover next. Your email stays private.